Garage Door Hinge Replacement: Read the Numbers and Plan the Repair
Quick answer
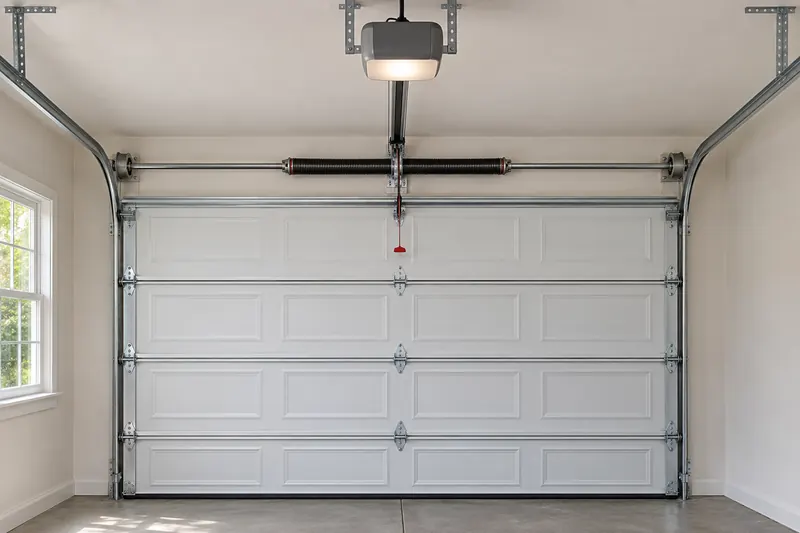
To plan garage door hinge replacement, identify the door, photograph the damaged hinge without touching it, and have a garage door technician confirm the correct part and repair scope. A stamped hinge number is useful information, but it does not establish compatibility by itself. Check only an already closed, stationary door from a safe position. Do not remove hinges, loosen bottom brackets, or move a damaged door to expose a marking.
Start with a safe viewing position
This guide covers the working hinges on a sectional overhead door. Decorative straps on the outside are a different subject.
If the door is open, crooked, jammed, or has a roller outside its track, stop. Keep people clear and report its position when arranging service. Do not try to close it for photographs or pull the emergency release.
For an already closed door, tell everyone to leave the controls alone. Before approaching, follow the opener manual's procedure to prevent operation, including its backup-power instructions. If that cannot be done safely, take no close photographs. Remain on the floor; a phone's zoom is preferable to climbing or reaching around hardware.
What the hinge number can tell you
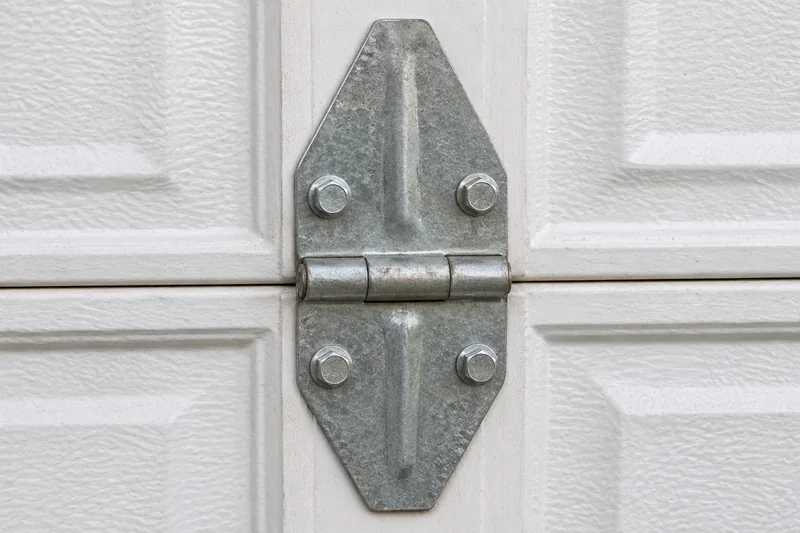
Hinges join neighboring door sections. At the sides, some hinge assemblies also hold a roller stem. Record whether the suspect part is at a section joint in the middle of the door or beside a track. The bottom corner fixture and top roller bracket are separate components; do not call every roller support a hinge.
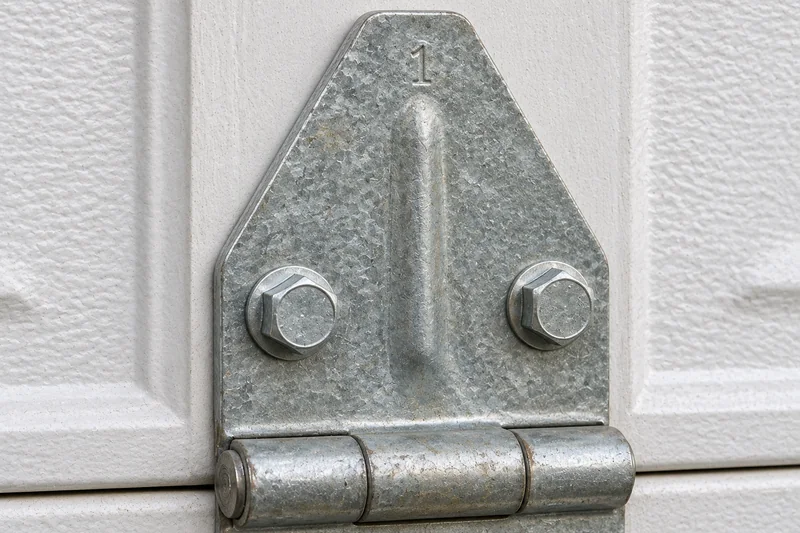
In Clopay's residential insulated-steel installation manual, stamped numbers identify hinges, and the specified center and end positions do not all use the same number. That is an example for the doors covered by that manual, not a numbering chart for every door.
There are also configuration differences. Wayne Dalton's standard-lift extension-spring guide for models 105, 110, 106, 116, 310, 311, 314 and 316 uses different end-hinge schedules for 2-inch and 3-inch tracks. A rule that simply starts at number 1 and counts upward would miss that distinction.
Use the stamp as a clue to check against the exact door specification. Do not substitute a higher number as an “upgrade,” assume matching numbers make two brands interchangeable, or copy the opposite side without checking the original specification and repair history.
Make a useful photo record
You need a phone, good lighting and the door paperwork, if available. Leave the toolbox put away.
- Find the door identity. Start with the invoice or installation record. Photograph an accessible door label without touching fittings. For Clopay doors, the model label is often on the interior near a section edge or bottom panel. A missing label is something to report, not a reason to dismantle anything.
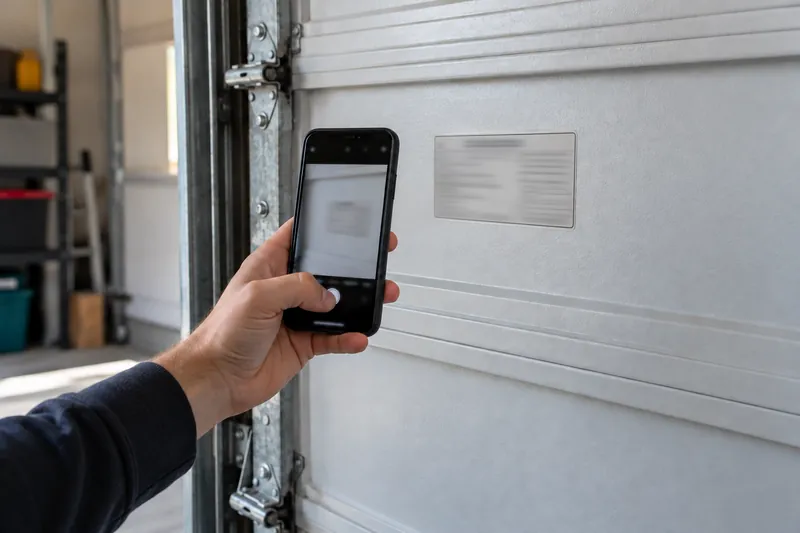
Record an accessible door label as well as the hinge. The door model and configuration matter more than choosing a part by its appearance. Keep a readable photo of your own label with the service request. - Take one overview. Include the closed door and the affected section. This helps the technician locate a close-up in context. Keep the opening and your exit clear.
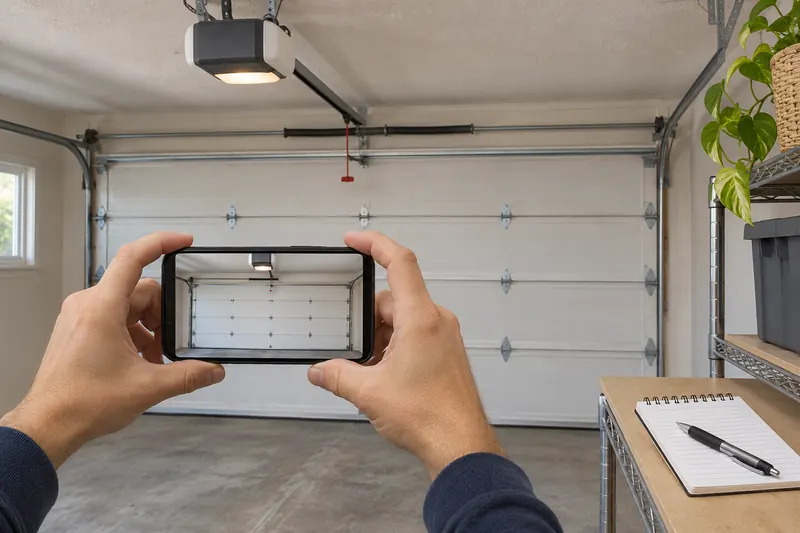
Photograph the closed door from the floor and keep your hands away from hinges, joints and tracks. - Describe the position. Write “inside, facing out; left side; joint above the second section from the floor,” or an equally clear description. Section position and stamped hinge number are separate entries.
- Photograph the visible face. Capture the whole hinge, any readable stamp, and the surrounding panel. Use zoom for details. Leave paint, rust and obscured markings alone; do not scrape, pry, wiggle the hinge or remove a screw to improve the view.
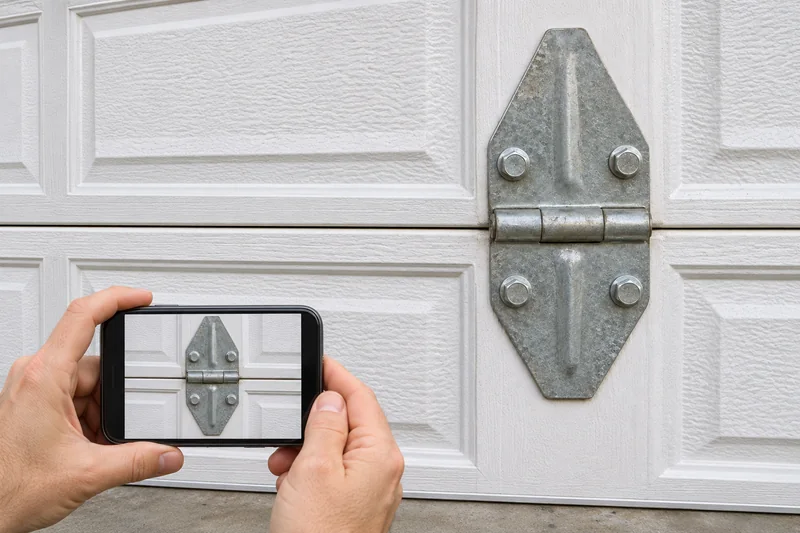
Include the whole hinge and adjacent panel in the close-up. Use zoom from a safe position and do not touch the hardware. A photo records appearance; it does not establish that the door is safe. - Record the change. Note any impact, new noise or movement problem already observed. Do not operate the door again to make a demonstration video. Include whether a previous repair changed the hardware.
Keep the original photographs as well as any annotated copies. An arrow on a copy can identify the concern without hiding the adjacent panel or fasteners.
Separate observations from diagnosis
A photograph can show a concern; it cannot establish that the door is safe or that only one component needs replacement.
| What you can see | What to report |
|---|---|
| A bent, cracked or broken hinge | Its location and a clear photograph; stop door use pending assessment. |
| A missing fastener or a hinge separating from the panel | The visible condition; leave tightening and attachment repair to the technician. |
| Cracking, creasing or damage around the hinge mounting area | Include the surrounding section in the service request. |
| A damaged roller, bent track or cable concern nearby | Request assessment of the door system, not only a hinge quote. |
Clopay's steel-door care manual includes loose or bent hinges, missing fasteners and panel damage in its closed-door inspection checklist. Its maintenance guidance calls for replacement of bent or broken hinges and professional assessment before continued use of a damaged door.
If the concern appears to be the wheel, use the garage door roller replacement guide to describe that separate component. For routine care of an intact door, the garage door lubrication guide explains how to check approved points and products. Lubrication is not a repair for a broken hinge.
Ask for a specific replacement plan
Before buying parts, ask the technician to confirm:
- The door manufacturer, model and applicable hardware configuration.
- The replacement part reference and the position it is specified for.
- Whether the panel and its attachment area are serviceable.
- Which other hinges or nearby components need work, and why.
- The parts, labor, completion checks and warranty included in the quote.
Ask for separate explanations of a local repair and any proposed full set of hinges. Neither a single replacement nor a complete set is automatically the right scope. Have the installer explain the condition found and confirm the completed work before normal use resumes.
Springs, cables and bottom fixtures remain outside this inspection. A closed door does not make its tensioned hardware safe to loosen.
Common questions
Are garage door hinges universal?
Do not assume so. Match the replacement to the manufacturer's specification for the door and configuration. A shared stamped number or similar outline is not enough to confirm the part.
Why are some hinges numbered?
The number helps identify the hinge required at a specified position within that hardware system. Its meaning must be read with the applicable manual; it is not a universal quality rating.
Can I replace just one hinge?
A technician may recommend a localized repair after checking the hinge, attachment area and related hardware. Ask why the proposed quantity is appropriate. This guide does not provide a removal procedure.
What if I cannot read the number?
Send the door label, overview and safest available close-up. State that the marking is unreadable. Leave part identification to the manufacturer or technician instead of removing the hinge as a sample.
Sources & manuals
- Clopay: identifying the door and selecting replacement parts
- Clopay: residential sectional insulated-steel installation manual, hinge identification and component locations
- Wayne Dalton: models 105, 110, 106, 116, 310, 311, 314 and 316, standard-lift extension-spring guide
- Clopay: steel-door care manual, closed-door inspection and safety warnings
- Clopay: damaged hinges and professional repair guidance