Removing Surface Rust From a Garage Door
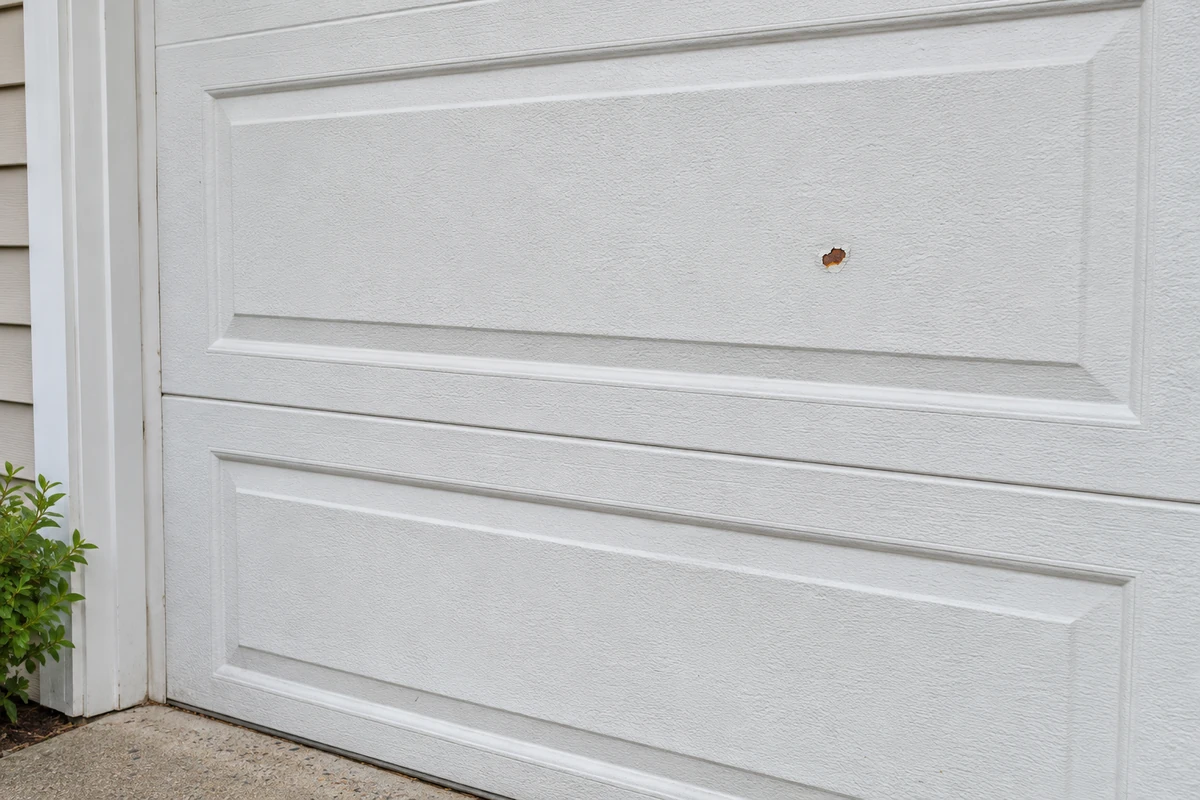
A brown patch on a garage door does not automatically mean the panel needs replacement. It may be a stain, corrosion at a paint chip, or damage extending beneath the finish. Start by identifying the door and inspecting it after gentle cleaning. This guide covers small surface defects on steel panels, not repairs to weakened metal or operating hardware.
1. Identify the material and finish
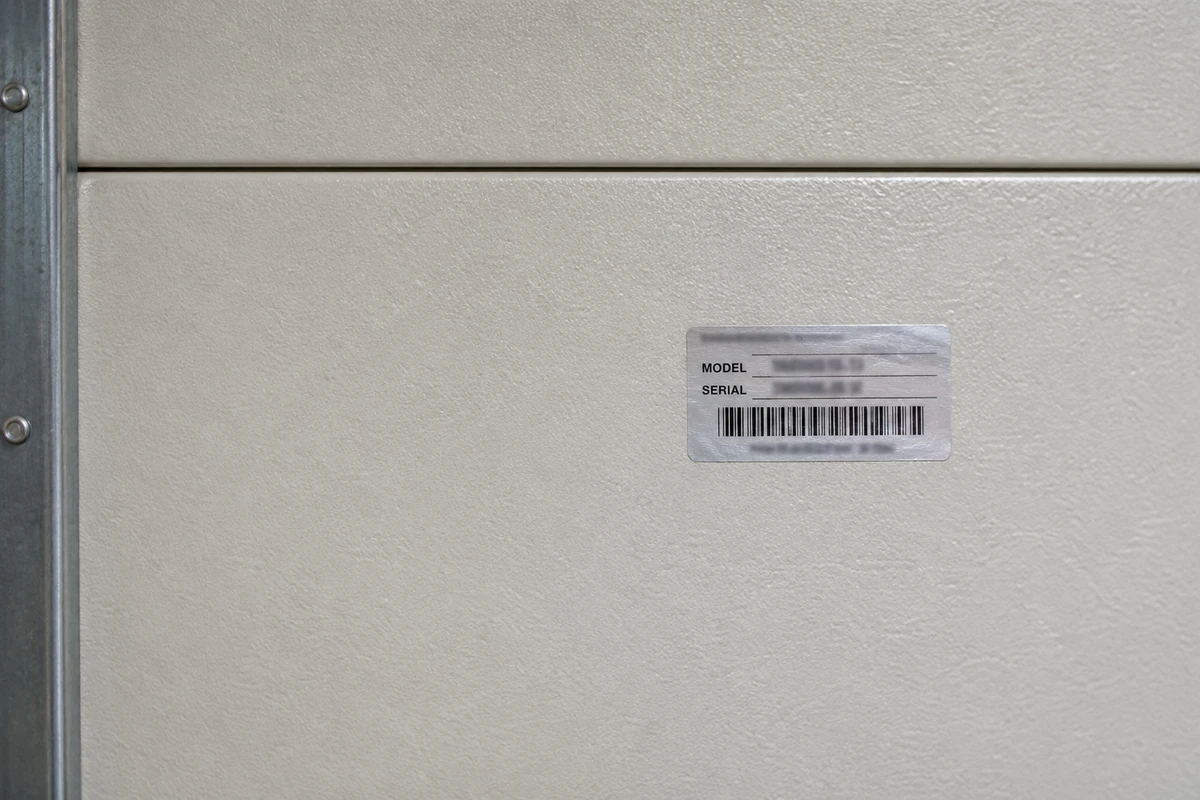
Find the brand, model and finish in your purchase records or an accessible door label. Photograph the spot before changing it. Steel can develop red-brown rust where protection fails. Aluminum does not develop iron rust itself, although attached steel parts or contamination can leave brown stains. White deposits, chalking or discoloration require a different diagnosis; they are not permission to use a steel rust-removal method.
Wood, fiberglass, composite overlays, anodized aluminum and decorative factory finishes need their own instructions. A woodgrain appearance does not identify the underlying material. If the finish is unknown, send the manufacturer a model number and photos rather than experimenting.
2. Check warranty and safety before removing anything
Ask whether the damage should be inspected as a warranty claim before you abrade or repaint it. Amarr's painting guidance warns that nonfactory painting voids its paint-finish warranty. Clopay directs owners to the care instructions for the particular collection. Permission for one steel door does not establish permission for another coating.
Work only with the door fully closed and stable. Prevent automatic operation using the opener manufacturer's power-isolation instructions, including battery backup where fitted, and keep other people away from controls. If the door is crooked, unsupported or already stuck open, stop and call a technician. Do not release, lift or disassemble it for this work.
Do not disturb an old coating that may contain lead. Arrange assessment before scraping or abrasion, especially for pre-1978 painted surfaces. Eye protection and gloves do not make lead-paint removal a suitable extension of this guide.
3. Clean gently, then inspect the dry surface
Gather a soft cloth or sponge, clean rinse water, and only a cleaner permitted by the door's care instructions. Keep cleaners off electrical equipment and avoid soaking joints. Follow the approved product directions; do not mix cleaning products. For the broader washing routine, see how to clean a garage door.
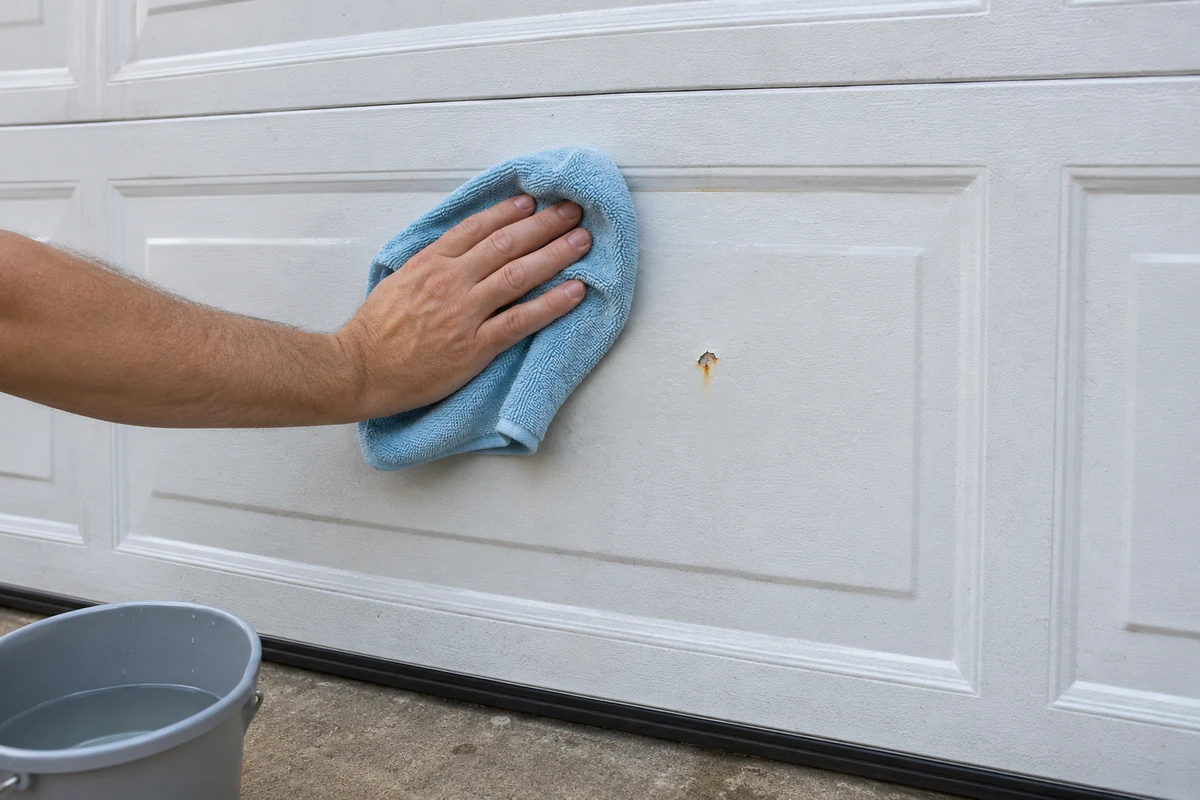
Wash the affected panel face gently, rinse and allow it to dry. Do not start with a wire wheel, grinder, scouring powder, pressure washer or chemical rust remover. These can turn a small finish defect into a larger repair. If the brown mark washes away and intact paint remains, inspect the source of the stain instead of removing sound coating.
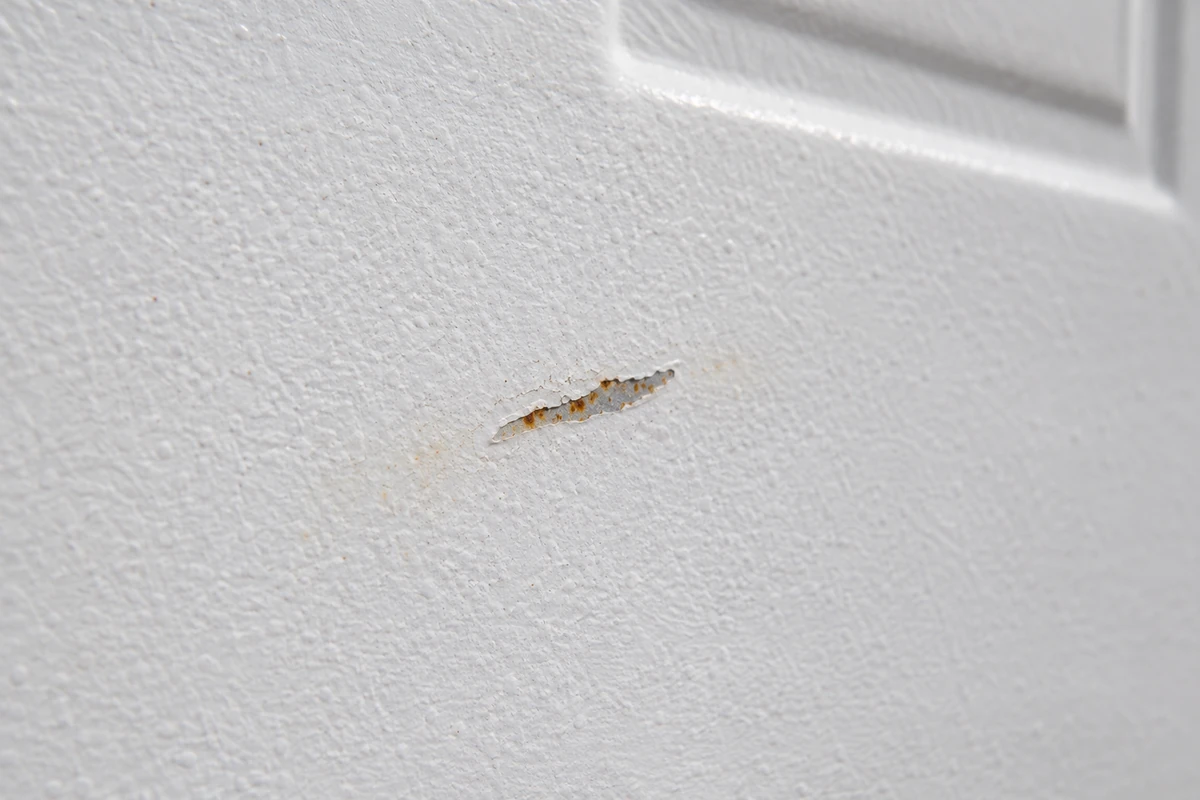
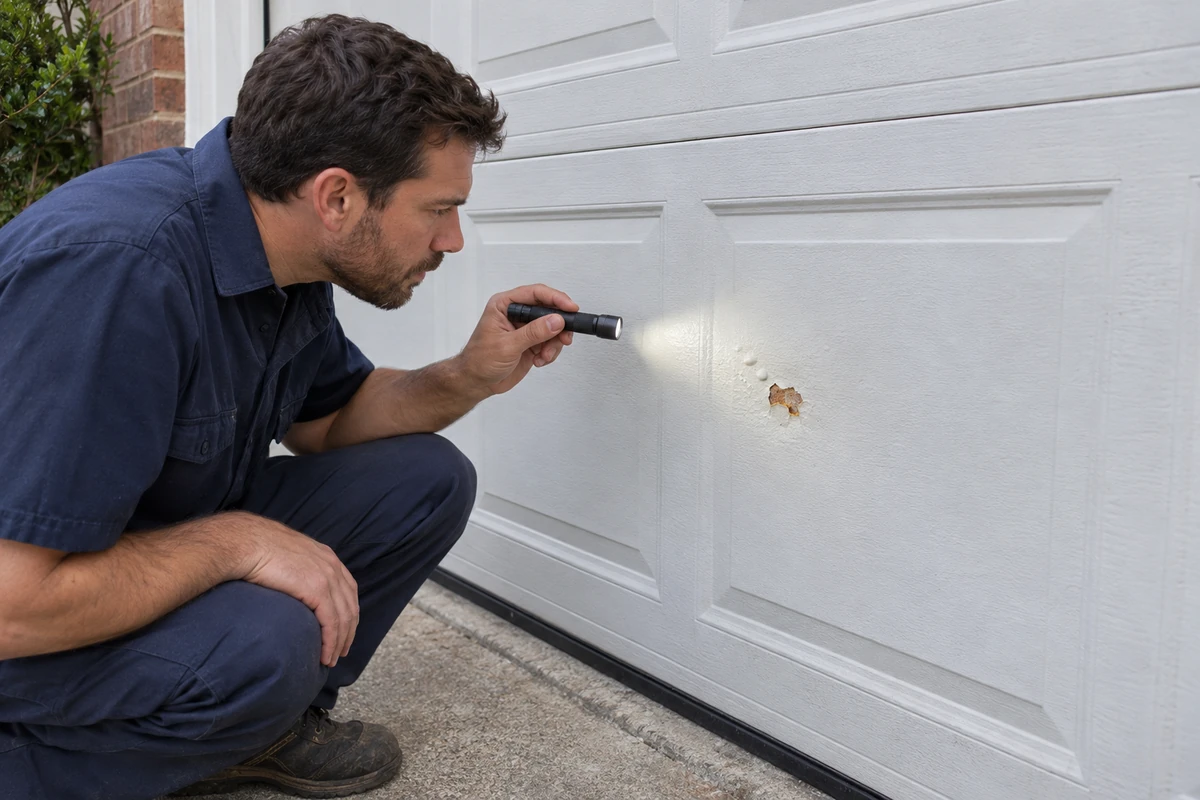
Use good light to look at the dry area without probing it with a tool. Photograph both the close-up and its position on the panel. Check adjacent paint for bubbling and look for streaks coming from a seam or fastener.
4. Decide whether this is a surface repair
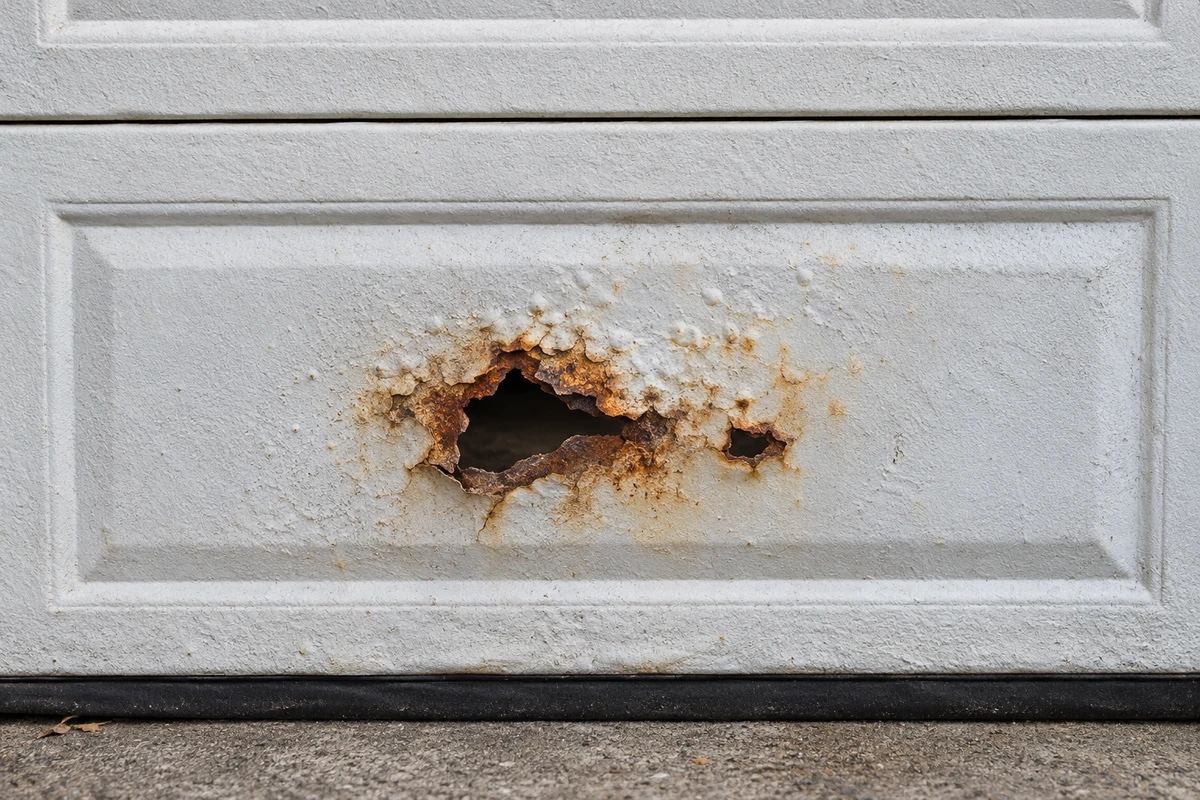
- Possible localized finish repair: a small, identifiable paint chip with light surface discoloration, no visible hole, and no distortion or cracking. This is a candidate for manufacturer advice, not proof that the metal underneath is sound.
- Professional assessment: perforation, deep pitting, heavy flaking, spreading blisters, separated seams, bent panels or corrosion returning after a previous repair.
- Hardware boundary: rust on cables, springs, bottom brackets, hinge attachments or track supports is not a cosmetic panel project. Do not remove fasteners or clean away evidence to investigate underneath.
If corrosion appears to affect the door's strength or safe movement, stop using it and arrange service. Paint, filler and patches cannot restore the strength of a corroded section. A technician should decide whether repair or section replacement is appropriate.
5. Follow the approved localized repair system
Proceed only after identifying a sound steel surface, clearing the old-coating concern, and obtaining applicable preparation and coating instructions. Ask for the permitted preparation method, compatible primer and topcoat, and any restrictions for the exact finish. A generic “metal paint” label is not enough.
Keep preparation limited to the damaged area allowed by that procedure. Do not strip surrounding intact factory protection or substitute powered wire brushing. If you uncover a hole, expanding corrosion or loose layers, stop. Follow the specified cleaning and drying sequence, then the approved primer and topcoat instructions for application conditions and drying or curing intervals. Use only the abrasives, cleaners and wait times specified for that exact repair system; do not substitute a generic recipe.
Keep coatings out of panel joints, seals and moving hardware. This is a localized corrosion assessment, not a whole-door repainting tutorial. Once the repair system is confirmed, use the garage-door painting guide for broader planning.
6. Check the cause and monitor the spot
After the coating's required cure, photograph the repair. Look for recurring water runoff, salt deposits or objects rubbing the panel, and address those causes without modifying the door. Inspect during your model's regular maintenance checks. New bubbles or rust returning at the edge warrant professional advice rather than another coat.
Frequently asked questions
Can I paint straight over rust?
Do not treat paint as a substitute for assessment and approved preparation. Confirm the manufacturer's repair system first.
Should I use vinegar or a rust converter?
Only if the door manufacturer approves that exact treatment for the coating and subsequent paint system. Household availability does not establish compatibility.
Does a rust hole mean I need a new door?
It requires professional assessment. A compatible replacement section may be possible, but that cannot be decided from the stain alone.
Why did the rust return?
Remaining corrosion, trapped moisture or a failed coating system may be involved. Have the cause assessed instead of repeatedly covering the spot.
Related Posts
 DIY Guide
How to Clean a Garage Door Without Damaging the Finish
Wash your garage door gently, check finish and window compatibility, and spot damage before choosing stronger cleaners.
 DIY Guide
How to Paint a Garage Door: Start With the Material and Finish
Plan a compatible garage door repaint, protect moving joints and labels, and avoid coating choices that can damage the door.
Sources
Manufacturer instructions and references for this guide. Match the document to your exact product.
- Clopay: Repairing Damaged Garage Door Sectionswww.clopaydoor.com
- Clopay: Cleaning and Preserving the Finishwww.clopaydoor.com
- Clopay: Steel Door Care and Maintenanceliterature.clopay.com
- Amarr: Painting Your Garage Doorwww.amarr.com
- Amarr: Garage Door Service Questions Answeredblog.amarr.com
- EPA: Lead-Safe Renovations for DIYerswww.epa.gov