How to Replace Garage-Door Sensors: Compatibility and Safe Planning
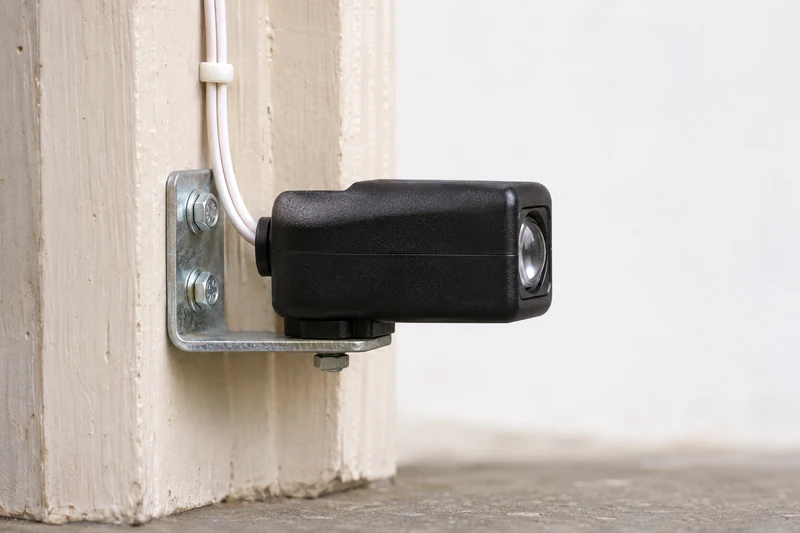
Short answer: Replace garage-door photoeyes only with the sensor set approved for the exact opener model. First rule out an obstruction, misalignment, or damaged wiring. Identify the opener and the original sensor parts, confirm the replacement and brackets with the manufacturer, isolate all opener power before any wiring work, and complete the model’s safety tests before normal use.
This guide covers choosing a replacement and planning a safe residential repair. It is not a universal wiring diagram. A sensor that fits a bracket or has the same wire colors is not necessarily compatible.
1. Confirm that replacement is the right repair
A closing problem alone does not prove a photoeye has failed. With the door stationary and everyone clear, look for stored items across the opening, dirt on a lens, a bumped bracket, or an obvious damaged cable. Record which indicator is steady, flashing, or dark, and any opener error code. Do not disconnect wires to diagnose a powered system.
If the housing and wiring appear intact but the sensors no longer face one another, start with checking sensor alignment. An LED problem that appears only at a particular time of day may need a sunlight assessment, not a new sensor.
A cracked housing, broken mounting point, moisture damage, or a manufacturer diagnosis of a failed photoeye makes replacement more likely. Damaged wire may instead need repair. When the evidence does not distinguish those problems, ask a technician to diagnose the circuit before ordering parts.
2. Build a model-specific parts record
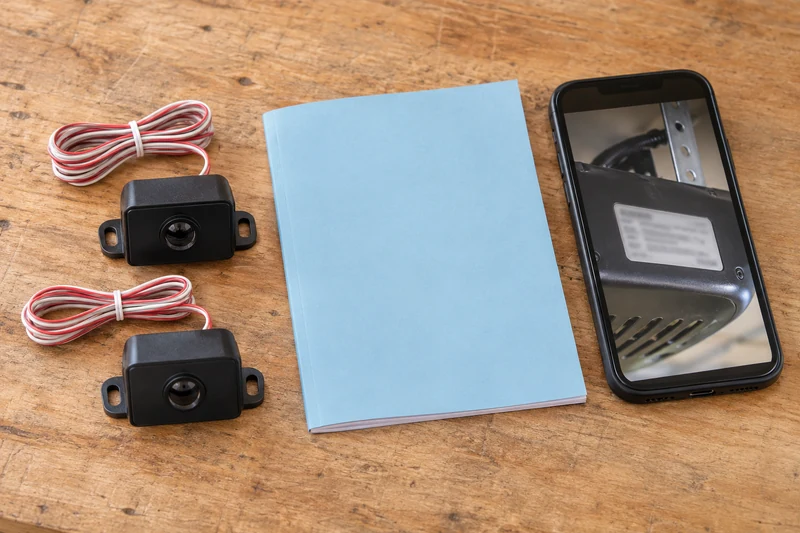
Before removing anything, collect the following from safely accessible labels, the owner’s manual, and existing records:
- Opener brand, complete model number, and manufacture date or serial number.
- Part numbers on both photoeyes, plus clear photographs of their housings and mounting brackets.
- The official replacement-parts page or diagram for that opener, including any superseding part number.
- Whether the opener has battery backup, and the manual’s procedure for isolating every power source.
- The symptom, indicator behavior, and whether the fault is constant or intermittent.
The brand on the garage door itself does not identify the opener electronics. If a ceiling label cannot be read safely, use paperwork or have the service technician identify it. Do not climb on the door, tracks, or an improvised platform.
3. Check compatibility, not just appearance
These manufacturer examples show why there is no reliable “universal photoeye” shortcut:
- Chamberlain 041A5034: its official page marks this older kit discontinued and explicitly excludes replacement of 041A4373A sensors and models made before 1997. Do not substitute it merely because the housings look familiar.
- Chamberlain/LiftMaster 041-0136: the page title says “2021 to present,” but the description refers to various compatible openers made after 1997. Its compatibility list includes B4613T and RJO101, among other models. Use the exact model’s parts information, not the title’s date as an eligibility rule. The page separately points to 041-0365-000 for a kit including both eyes and brackets.
- Genie 37220R Safe-T-Beam: Genie describes its replacement set for Genie-only openers made since 1993 that use the required safety beams. The product page explicitly excludes models 2040 and 2040L. That description does not authorize a cross-brand substitution.
Even LED colors are not universal identification. Chamberlain identifies 041-0136 with square amber/green indicators and 41A5034 with small circular amber/green indicators; older 41A4373A units have two green indicators. A light’s color alone neither identifies a replacement nor proves that a sensor is defective.
Ask the manufacturer to confirm the approved current set and necessary hardware if a part is discontinued or the model is absent from the official listing. Retain that confirmation with the model number. Do not mix a new sender with an old receiver unless the manufacturer explicitly approves that combination.
4. Decide what the repair must include
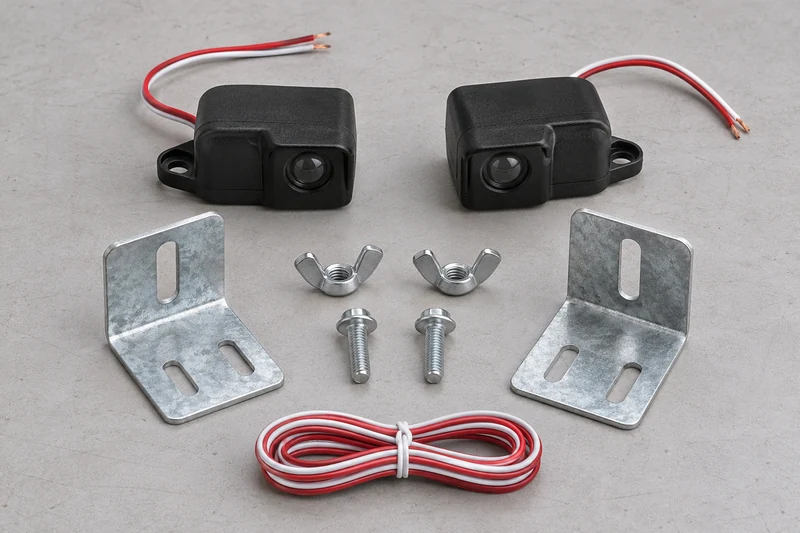
Make a short scope list before buying a kit or scheduling service: approved sensor set, compatible brackets, permitted wiring condition, and commissioning tests. A listing that includes two eyes may not include replacement brackets. A bent bracket can leave new sensors unstable; a damaged cable can leave them inoperative.
Ask whether the quote includes diagnosis, both required eyes, damaged wiring or bracket work, and the final safety checks. Request the replacement part number in writing. Prices depend on the actual fault and scope, so a sensor-only product price is not a complete installed-repair estimate.
Use professional service when wires are hidden or damaged, several older splices are present, the manual is missing, safe overhead access is unavailable, or identifying terminals would require guessing. A hardwired opener or electrical-supply problem needs a qualified professional; do not open a mains-voltage compartment for this task.
5. Follow a power-off, manual-led replacement sequence
- Make the area safe. Keep children, pets, vehicles, and other users away. If the door is open and cannot be closed safely, stop and arrange service. Never release an open, damaged, or unbalanced door just to start this repair.
- Isolate all power. Follow the opener’s instructions for unplugging and disconnecting battery backup where fitted. Unplugging alone may not disable a battery-equipped opener. Do not touch wiring until every relevant supply is isolated. If that process is unclear, stop.
- Compare the approved kit. Check its part number, both sensor roles, brackets, and hardware against the manual before removing old components. Photograph the existing arrangement for the technician; a photograph is not a substitute for the wiring diagram.
- Follow the exact replacement instructions. Use only the specified mounting and wiring method. This guide deliberately supplies no generic terminal numbers, wire-color mapping, or polarity rule. If the instructions do not match what is installed, leave the system isolated and obtain manufacturer help.
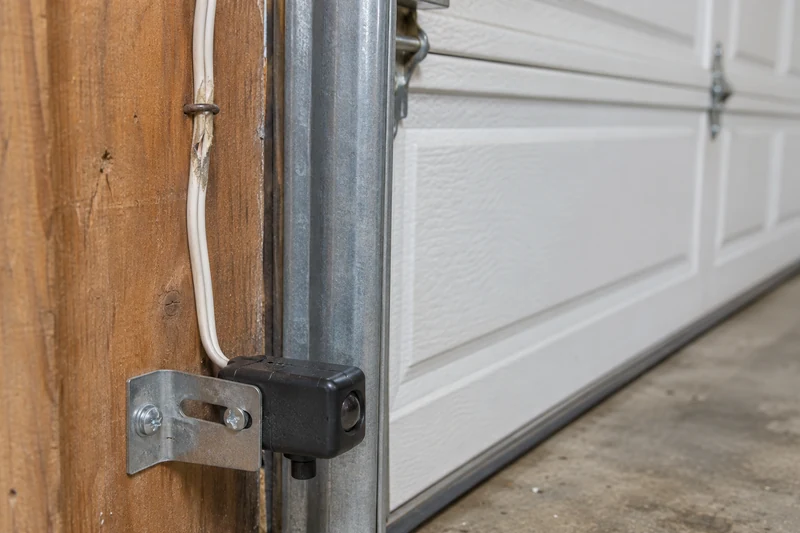
- Check the physical installation. The eyes must face each other across the opening with a clear optical path, secure supports, and the height required by that system. Keep wiring clear of rollers and moving hardware. Do not assume the old mounting position was correct, raise sensors to avoid an obstacle, or reuse visibly damaged cable.
- Restore power only when the work is complete. Follow the manual for reconnection and final alignment, with people clear and all wiring work finished. Interpret indicators using that model’s diagnostic chart.
Genie’s 37220R instructions specifically warn that pinched cable can disable the system and call for an unobstructed path between the two units. Those requirements do not make its terminal layout or mounting details interchangeable with another brand.
6. Treat commissioning as part of the repair
Working indicator lights are only a preliminary check. Follow the opener manual’s photoeye obstruction test and its separate contact-reversal test. Review how to test garage-door sensors before returning the opener to everyday use.
- Photoeye check: use the test method for the model, with everyone out of the opening. Chamberlain’s Protector System procedure obstructs the beam before a remote-close command; continued closing requires service. Genie’s 37220R procedure tests interruption during closing and recommends a long-handled object so the operator can stay clear. Never use a person, pet, hand, or foot as the obstruction.
- Contact reversal: this checks a different safeguard. Use the test object and procedure specified in the opener’s own manual. Passing the beam test does not establish that contact reversal works.
- Final record: save the fitted part number, instructions, service receipt if applicable, and the results of both tests. Follow the manual’s repeat-test schedule.
If a test fails, stop using the opener and arrange qualified service. Do not increase closing force, bypass the sensors, or hold a control to force the door closed as a repair. Do not leave an untested replacement available for unattended or app-controlled use.
Frequently asked questions
Are garage-door sensors universal?
No. Match the replacement to the opener’s exact model and manufacturer-approved parts information. Similar plugs, wire colors, or housing shapes do not establish compatibility.
Can I replace only one photoeye?
Only if the manufacturer approves that exact single replacement with the remaining unit. Otherwise use the specified set; do not assume generations or brands can be mixed.
Does a dark LED mean I need new sensors?
Not necessarily. Power, wiring, an obstruction, or another fault can affect indicators. Interpret the complete symptom with the model’s diagnostic chart before buying parts.
Can I reuse the old brackets and wire?
Only if the replacement instructions permit them and they are compatible, secure, and undamaged. Ask for a wiring assessment if damage or hidden splices are suspected.
Do new sensors need remote-control programming?
Do not confuse remote pairing with sensor commissioning. Follow the replacement instructions and opener manual for any required setup, alignment, and safety tests; do not reset the opener merely because you changed photoeyes.
What if the door still fails after replacement?
Stop normal operation and request diagnosis of compatibility, mounting, wiring, and the opener. Another set of sensors is not a substitute for finding the remaining fault.
Related Posts
 Safety Guide
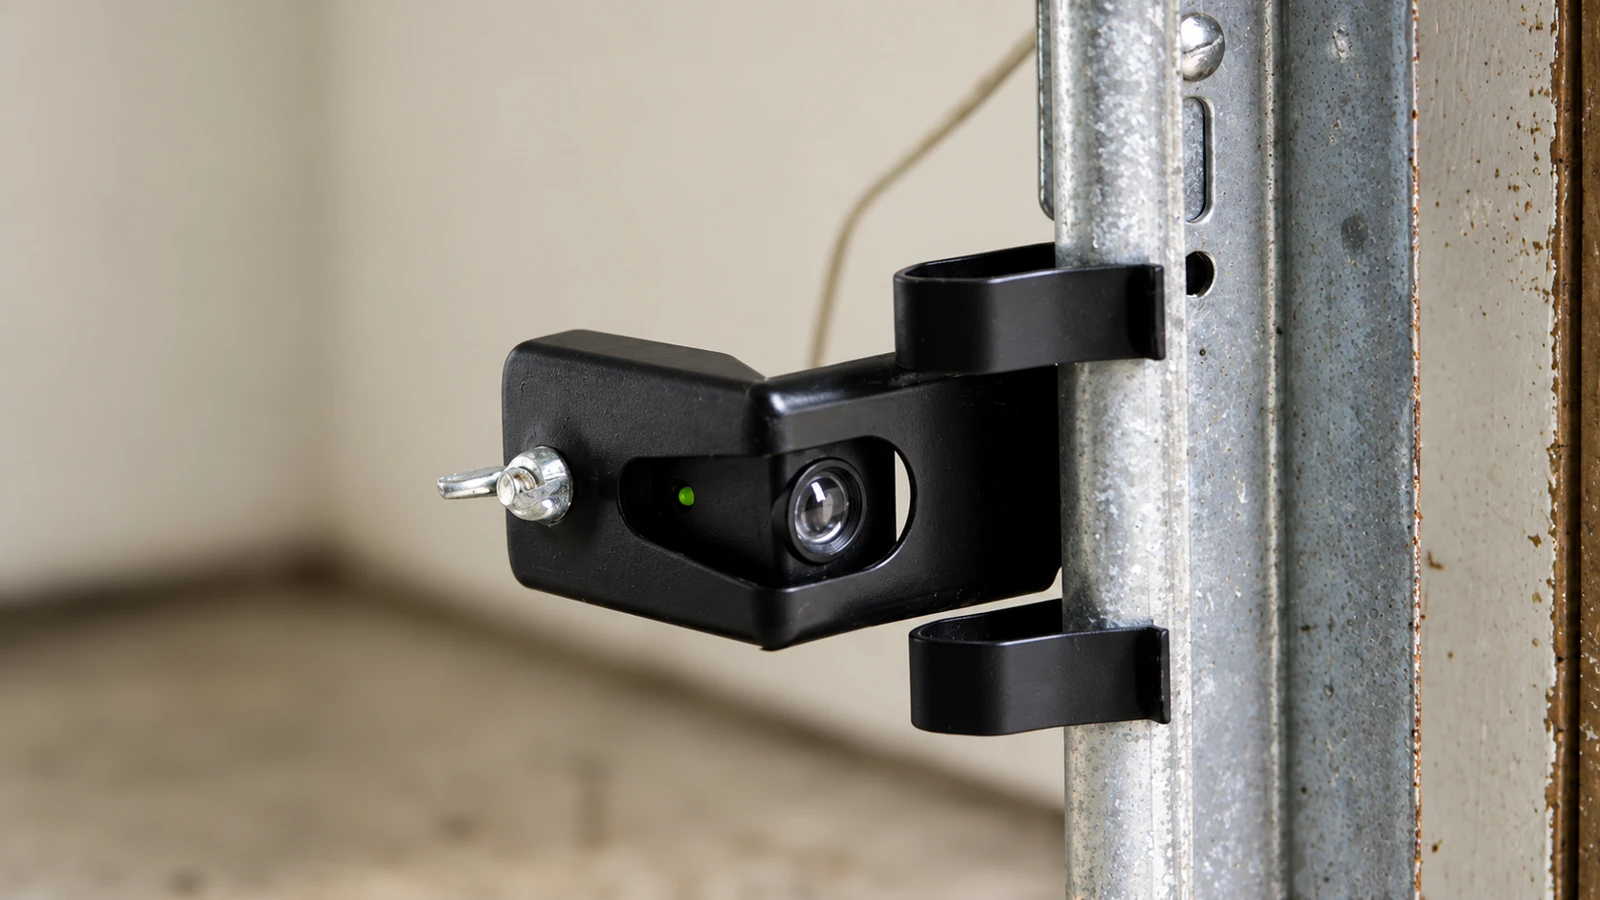
How to Align Garage Door Sensors Without Bypassing Them
Check sensor model, lenses, indicators and mounting before following its alignment instructions. Never bypass photoeyes or increase force to overcome a fault.
 Safety Guide
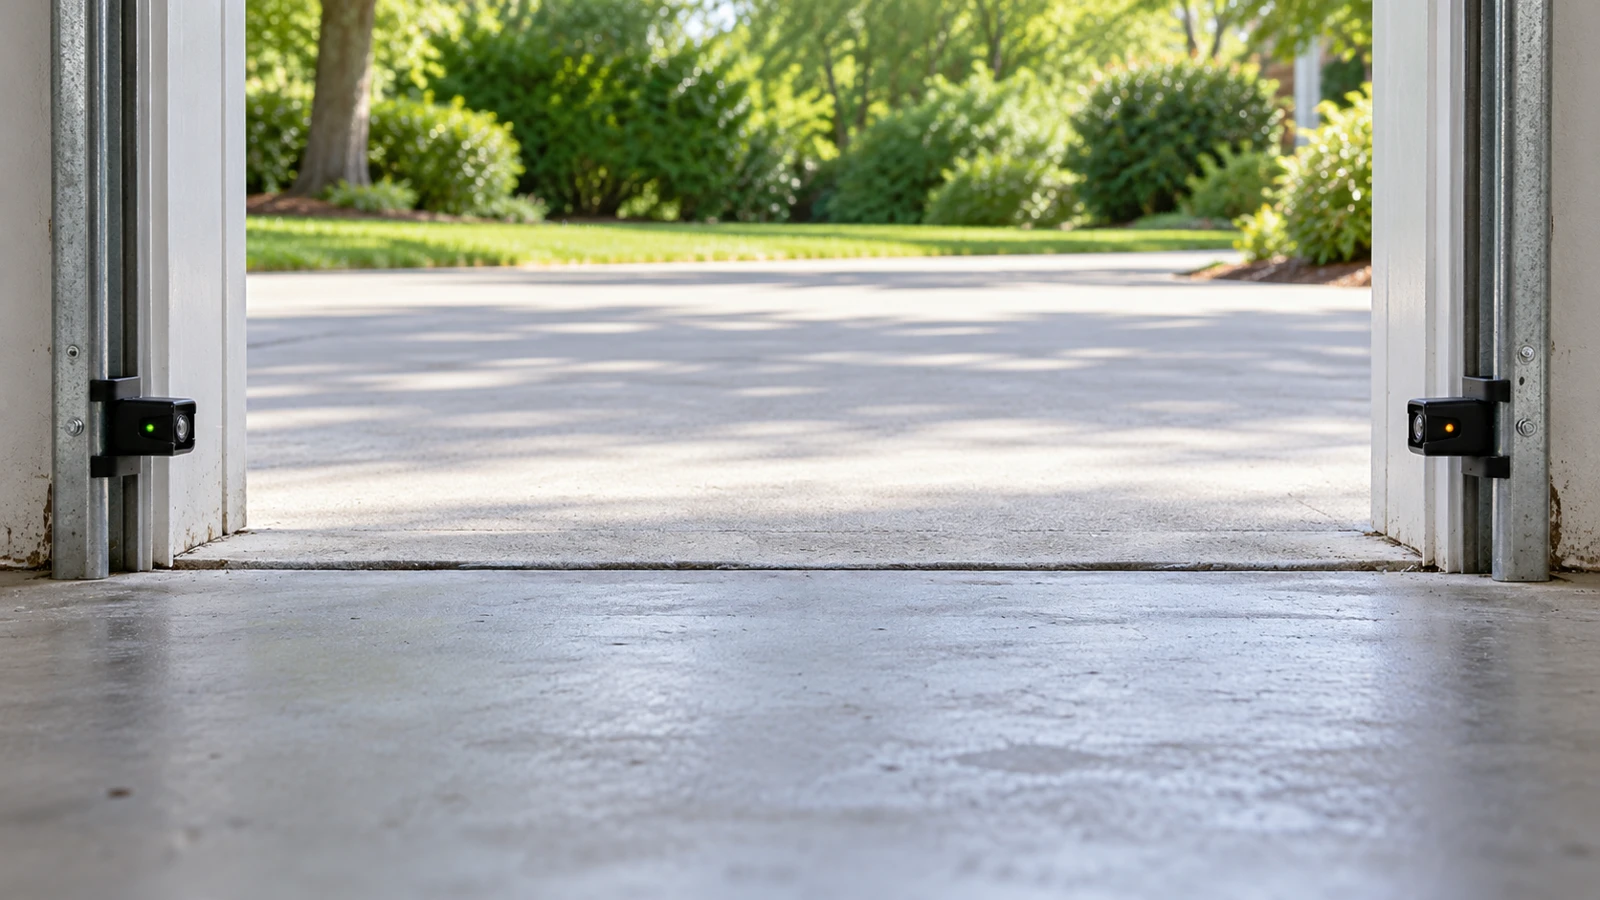
How to Test Garage Door Sensors and Recognize a Failed Test
Test photoeyes using your opener’s manual, distinguish beam testing from contact reversal, and stop automatic use after a failure.
Sources
Manufacturer instructions and references for this guide. Match the document to your exact product.
- Chamberlain: 041A5034 exclusions and discontinued statuswww.chamberlain.com
- Chamberlain: 041-0136 compatibility and kit contentswww.chamberlain.com
- Chamberlain Group: identifying sensor generationssupport.chamberlaingroup.com
- Genie: Safe-T-Beam replacement compatibilitystore.geniecompany.com
- Genie: 37220R installation and testing instructionsstore.geniecompany.com
- Chamberlain Group: Protector System testsupport.chamberlaingroup.com
- Chamberlain Group: separate contact-reversal testsupport.chamberlaingroup.com