Before Regrading a Gravel Driveway at a Sliding Gate
A gravel delivery can change a sliding gate entrance even if nobody touches the gate. The finished surface might sit higher, loose stone may spread into the travel area, and rain may collect somewhere new. Before the driveway work starts, give the paving crew and gate installer the same photos and the same description of the finished surface.
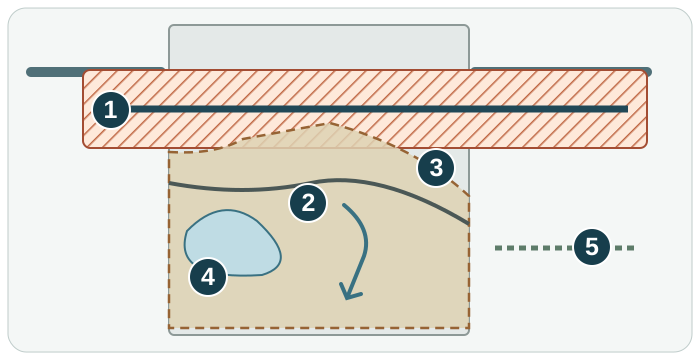
1. Photograph the entrance before work
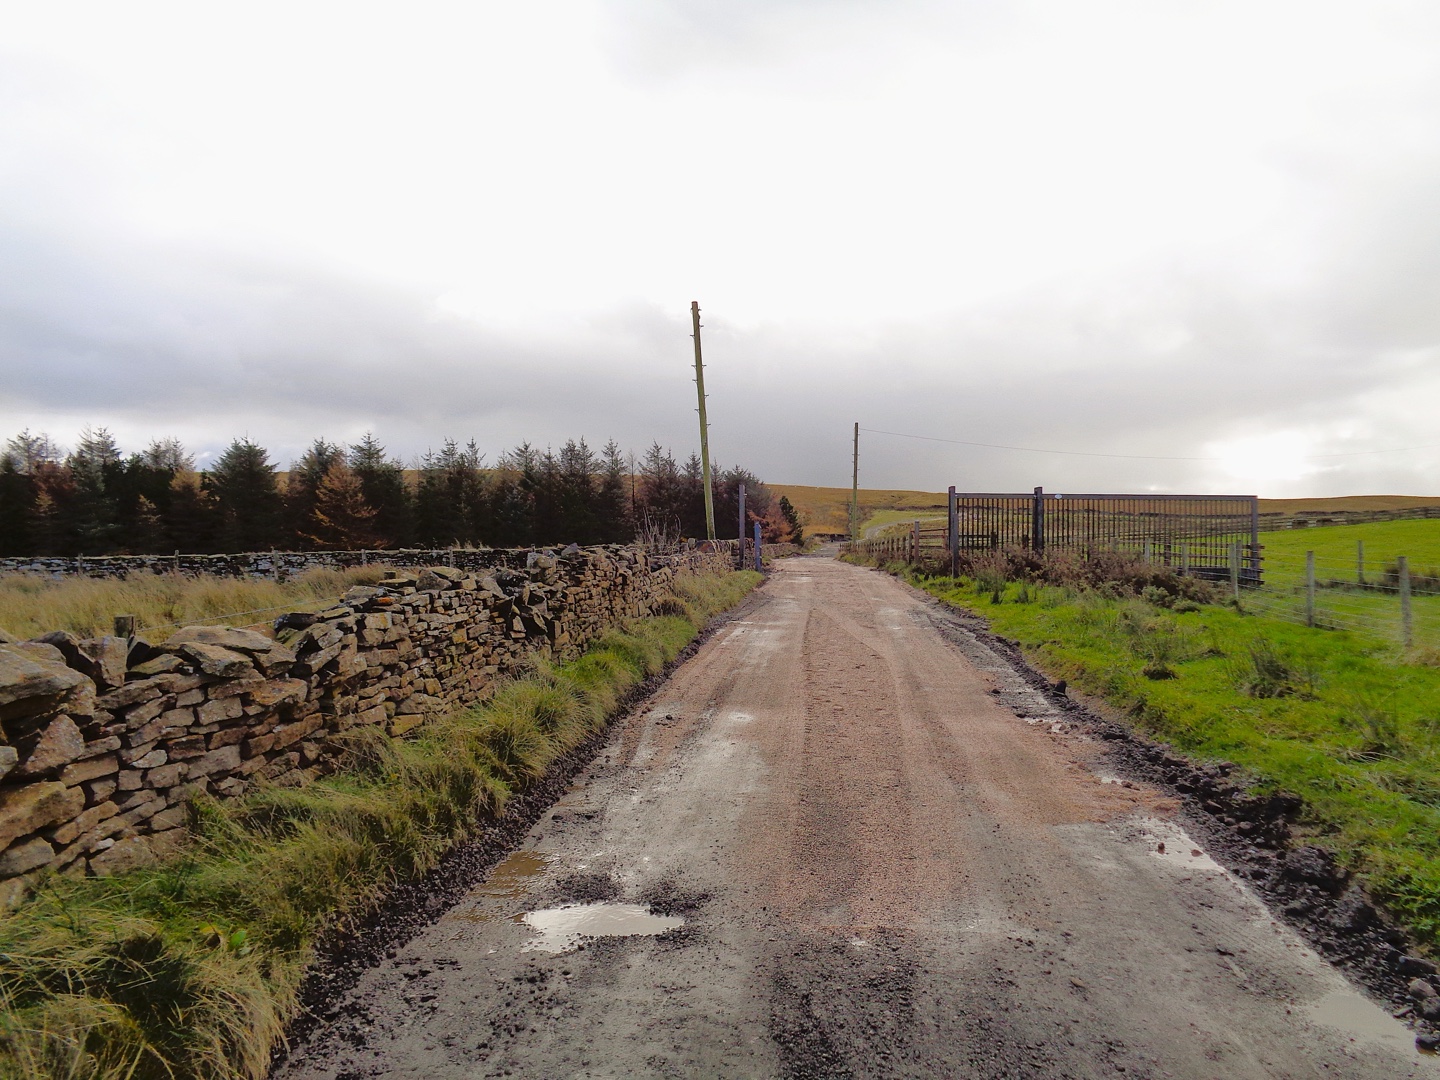
From a clear place, take a wide photo of the entrance and a side view that includes where the gate parks when open. Photograph the transitions between gravel, hard paving and any visible drains. If water has pooled after rain, include where it collects and where it appears to flow. You’re recording existing conditions, not diagnosing the cause. Keep out of the gate’s travel area and do not move the gate to take a photo.
On copies of the photos, mark the edges of the planned work. Note whether the crew is refreshing the top layer, filling a dip or changing the finished elevation. These are different jobs. Photograph any visible rail without using its presence to assume how the entire gate is supported.
2. Ask for the finished surface, not just the amount of gravel
Ask the driveway crew to show the proposed height and transition on a sketch. Give it to the gate installer to check against the actual gate through its full travel, not just the position when closed. Ask who will keep loose stone out of the movement area and whether the finished work changes drainage, gate access, sensors or any service access. Record which parts of the gate area are excluded from the driveway work unless both crews agree.
If the two proposals disagree, have the crews reconcile them before material is spread. A quote that just says “add gravel” doesn’t tell either installer where the finished edge will end up.
3. Agree on the handoff before reopening the entrance
Ask who will confirm that the finished surface matches the plan, that no material is in the gate’s route and that the installed gate and its safety devices operate as required. Let the installer do gate checks with people and vehicles clear. If the gate starts scraping, stalling or behaving differently after the work, stop normal use and call the installer. Don’t increase force, move sensors or try to push the gate through loose material.
Common questions
Does this apply if there is no rail across the driveway? Yes. The gate still moves through space, and grade or drainage changes near the opening, supports or parking side can matter. Ask the installer to check the actual system.
Can the crew just fill the puddle? Ask them to explain why water collects there and where it would go after the work. Filling a low spot doesn’t by itself show that the finished entrance will drain as intended.
Do I need to measure the gate? You can share photos and mark where the work is proposed. Leave measurements in the moving area and equipment clearance checks to the installer.
Related Posts
 Practical Guide
Taking Over a New Automatic Gate: An Owner’s Handover Checklist
A new gate should come with an understandable operating plan, not just a demonstration that the motor runs. Arrange the handover while the installer is present. The DoorKing 6300 manual includes a joint installer/propert
 Practical Guide
Where to Place a Driveway Gate: Waiting Space, Sidewalks and the Public Road
A gate position can fit the fence line yet leave a waiting car across a sidewalk or road. Before selecting a post location, ask a designer to evaluate the entrance as a complete arrival and departure route. This is not a
Sources3
- Mantion: example of a ground-track sliding gate
- Sliding gate on track to open access land · Kevin Waterhouse · CC BY-SA 2.0. Web-sized copy. Adaptation under the same license.