Rolling Codes, Fixed Codes and DIP Switches: Match Your Garage Remote
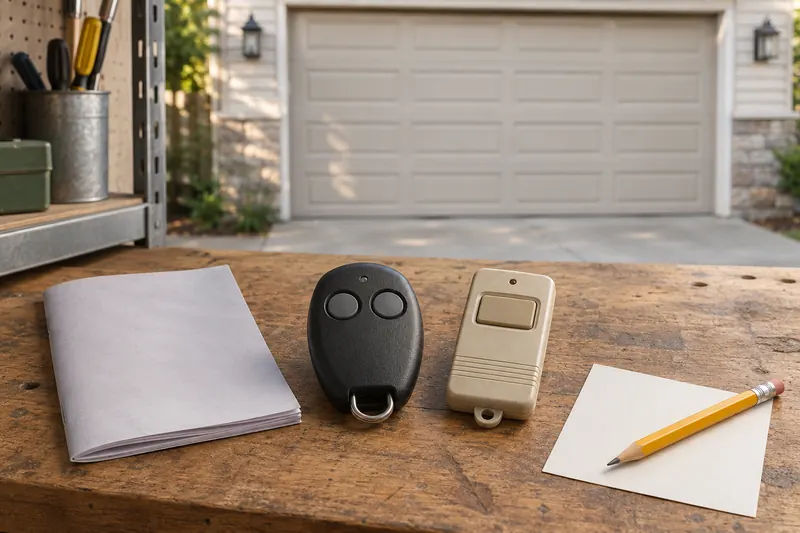
A remote must speak the receiver’s supported radio protocol. Matching the brand, button count or frequency alone is not enough. Fixed-code systems repeat a code; rolling-code systems change it through a compatible transmitter-and-receiver process. Identify the equipment first, then use the instructions for that exact combination.
Two remotes can look alike and work very differently. This guide explains the compatibility decision, not a universal programming sequence. Use it for equipment you own or are authorized to manage. Have the opener model, any separate receiver model and the proposed remote model available before attempting to pair anything.
1. Separate the radio code from a keypad PIN
The radio message is what the receiver recognizes when a control sends a command. A keypad PIN is the number a person enters to authorize that keypad. An app account adds another access layer. Changing one does not necessarily change the others. For example, choosing a new keypad PIN does not establish that a lost handheld remote has been removed. Write down which kind of access you actually want to add, replace or revoke.
2. Understand fixed and rolling codes
In a fixed-code system, the transmitter repeats its configured code. Older controls may use a row of small DIP switches to set it. A rolling-code system changes the transmitted code as part of its protocol; an authorized receiver recognizes the compatible transmission. Genie describes Intellicode as its rolling-code technology. That name does not make every other brand’s rolling-code remote compatible, nor does rolling code promise protection against every possible security problem.
3. Identify the receiver, not just the motor cover
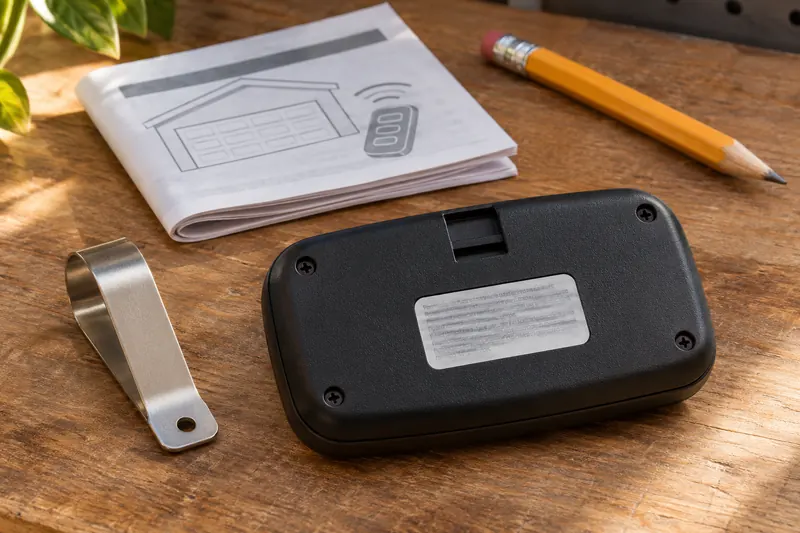
Record the opener’s model and date information from an accessible label or the existing manual. If a separate radio receiver has been added, its specifications may determine which remote works. A Learn button’s color can help within a manufacturer’s identification method, but it is not a universal cross-brand code. Do not open a powered housing, move wiring or climb onto improvised supports just to obtain a label. Ask the installer or manufacturer when identification is uncertain.
4. Read the exact remote compatibility list
Compare receiver family, radio specification, model range and any stated date or software limits. A label such as “universal” means the combinations the manufacturer supports, not every opener ever made. Genie’s universal-remote guidance, for example, distinguishes supported rolling-code specifications and software-dependent DIP-switch support. On this Genie product, virtual DIP-switch support requires software version 1.1.4 or later. Genie also restricts use to openers built in 1993 or later with working safety sensors. These are product-specific checks, not a universal rule for every remote. Record the actual list entry that applies to your receiver. An online listing that says only “works with most brands” is not enough to resolve an uncertain match.

5. Treat switches and Learn buttons as identification clues
Some controls have physical DIP switches; others can represent supported fixed-code settings electronically. The absence of visible switches does not establish the protocol by itself. Do not randomly change a switch bank or repeatedly hold the opener’s Learn button while experimenting: the exact function depends on the product and may affect existing controls. Once compatibility is established, follow the appropriate route in programming a garage door opener with the right pairing method. Keep the door in view and the travel area clear during testing.
6. Keep a short compatibility record
Save the opener or receiver model, the working remote model, the manual revision and the compatible-list entry. Keep security codes and any switch-setting photos private. If a remote has been lost, pairing a replacement is only part of the job; use the guide to replacing a lost or broken garage remote to plan removal of old access as well. Recheck each authorized control after any deliberate memory change. Do not assume a successful new remote proves the missing one is disabled.
If the combination is not listed
Stop the pairing attempts and ask the equipment manufacturer to confirm the exact combination. An approved external receiver or a different replacement control may be an option, but neither should be guessed from the frequency alone. Do not add a radio accessory to work around failed safety devices or an unsafe door. The useful outcome is a documented match, or a clear decision that the proposed remote is not suitable.
Common questions
Does the same MHz mean two remotes are interchangeable?
No. Frequency is only one specification. The receiver must also support the remote’s protocol and the particular model combination.
Is every Learn-button opener a rolling-code system?
Do not identify a system from that button alone. Check the receiver model and its manufacturer’s instructions.
Do I need the original remote to choose another one?
Not always. Receiver identification and the replacement manufacturer’s compatibility information can establish the match. Some particular setup methods may still require an existing working control.