How to Replace a Lost or Broken Garage Door Remote
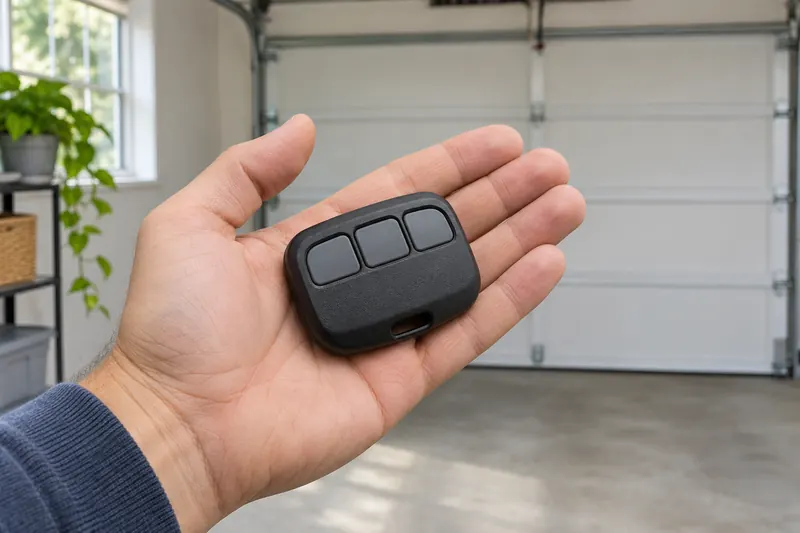
Match the replacement to the opener’s receiver before you buy it. If the old remote is missing, also plan how to remove its access. Buying and pairing a new control does not, by itself, establish that a lost control has stopped working.
This guide helps you select replacement hardware for a residential garage door opener. It does not replace the programming instructions for your exact opener and remote, and it does not cover access to a shared garage without the manager’s permission.
1. Decide whether you need replacement hardware
If the remote is still in your possession, check its condition first. A damaged case, stuck button or water exposure is different from an exhausted battery. Use the battery type and polarity specified in its manual; an indicator light alone does not prove that the remote is transmitting correctly.
Compare it with another authorized control only if the door is safe to operate. If several controls fail, a new remote may not solve the problem. If the wall control works but wireless controls do not, check the opener manual’s lock-mode and troubleshooting guidance before ordering. Do not use repeated door movements as a troubleshooting shortcut.
Stop if the door is crooked, damaged, off its track, or has a suspected spring or cable fault. Remote replacement does not correct a mechanical problem. Do not increase closing force, defeat the photoeyes or alter the travel settings to make a remote test succeed.
2. Make a short compatibility record
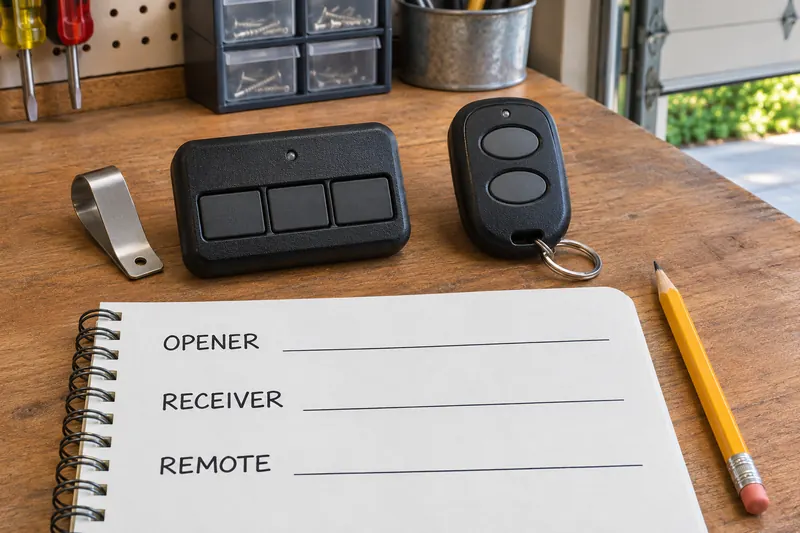
Use records or a safely readable label to collect:
- Opener manufacturer and full model number, including suffixes.
- Manufacture date, if the label provides one.
- Receiver identification, especially if an external receiver has been added.
- Learn/program button identification or radio technology, as specified by the manufacturer.
- Old remote model, if available, and the number of doors it controlled.
Photograph labels for your private records rather than posting access information publicly. Do not remove electrical covers or climb onto a vehicle to find a model number. If the label or controls cannot be reached safely, ask an installer to identify the equipment.
A door’s brand is not enough: the door, opener and added receiver can come from different manufacturers. Remote case shape, button count and frequency printed in a listing are also insufficient on their own. The replacement needs the supported radio system and the appropriate receiver compatibility.

3. Check the exact replacement, not just the brand
Use the manufacturer’s current compatibility chart or manual. Save the matching model entry with the product number you intend to buy. If a retailer uses a different suffix or describes a control only as “universal,” ask for the actual manual before treating it as a match.
Two examples show why a broad brand claim is not enough:
| System | Useful manufacturer-specific check |
|---|---|
| Chamberlain | Its current compatibility chart separates white, yellow, purple, red/orange and green LEARN-button groups. CH161/CH163 appear under white; CHU62 appears in the green group as well as newer groups. Do not transfer a match from one group to another. |
| Genie G3T | Genie specifies the upper two buttons for 1995–1997 openers, while its later compatible openers can use all three. Confirm the particular opener rather than assuming any three-button Genie control has the same limits. |
These are selection examples, not a complete purchasing list. Button colors can fade; use the manufacturer’s identification guidance instead of guessing from a photograph. An old DIP-switch system or an added receiver needs its own documented match. Do not assume a newer rolling-code remote will work with it.
Choose the form factor after compatibility: visor clip or key ring, buttons large enough to use reliably, and enough supported channels for the doors you actually own. A multi-button remote does not guarantee that every button can operate every brand.
4. If the old remote is lost, plan access removal
Treat a missing remote as an access-control issue as well as a shopping task. Tell the owner or property manager promptly if this is a rental or shared system. Do not erase a shared receiver yourself.
For a system you are authorized to manage, read the manual’s erase remote memory section before touching any programming buttons. Chamberlain’s documented remote/keypad erase operation removes the stored codes and requires the controls you want to keep to be programmed again. Genie’s G3T support instructions likewise distinguish erasure procedures for PRGM/SET and older LEARN CODE openers. There is no single hold duration that this guide can safely apply to all systems.
Before an erase operation:
- Arrange another authorized way into the garage so nobody is locked out.
- Gather the remaining handheld controls, keypad information and vehicle-control instructions.
- Tell household members which wireless controls may stop working during the change.
- Identify the exact completion indicator and re-enrollment instructions in the manual.
- If you cannot distinguish remote-memory erasure from a broader reset, stop and ask manufacturer support.
Do not assume erasing radio remotes also revokes app users, changes account ownership or clears every other access route. Review those separately using their own instructions. If the lost remote also controlled another door or gate, notify that system’s authorized owner too.
5. Pair and test the replacement deliberately
Follow the instructions supplied for the exact new remote and receiver. Some remotes need a radio-family selection before enrollment. Avoid pressing and holding a LEARN button experimentally: a longer press can perform a different action from the brief press used for enrollment.
Keep people and objects outside the door’s travel path. Operate only a door that is safe to use, keep it in sight and do not let anyone cross beneath it while it moves. Keep the remote away from children.
After pairing, confirm that the intended button operates only the intended door. Check the other authorized controls that should remain active. If you intentionally erased memory, verify the documented erase result with an available previously enrolled control before re-enrolling it, following the manual. A remote that is physically missing cannot be directly tested; record the erase procedure and completion indication instead of claiming you tested that missing device.
If enrollment fails, stop and recheck the model, receiver, supported radio family and programming sequence. Do not compensate with force adjustments or electrical modifications. Return an incompatible control under the seller’s policy or ask the manufacturer to confirm the correct replacement.
Keep the next replacement simple
Save the remote model, receipt and applicable instructions with the opener records. Note which button operates which door, without keeping PINs or access details in a vehicle. Retain a spare in a secure place and remove unnecessary controls from circulation. Dispose of a damaged remote and its battery through suitable local collection channels; keep small batteries away from children.
Common questions
Does programming a new remote disable the lost one?
Do not assume so. Use the opener’s documented access-removal procedure, then enroll only the controls you want to keep.
Can I buy a universal remote without knowing the opener model?
That is a poor starting point. Identify the receiver and check the universal remote’s exact compatibility list before buying.
Do I need the old remote to choose a replacement?
Usually the opener or receiver identification is the essential starting point. If the original control is gone, give the manufacturer the full equipment model and any external-receiver details.
Should I replace the opener if a remote will not pair?
Not on that evidence alone. First confirm compatibility and the correct enrollment procedure. An unsupported receiver or a diagnosed fault may require a different solution, which should be assessed separately.