Garage Door Opener Backup Batteries: Replacement and Compatibility
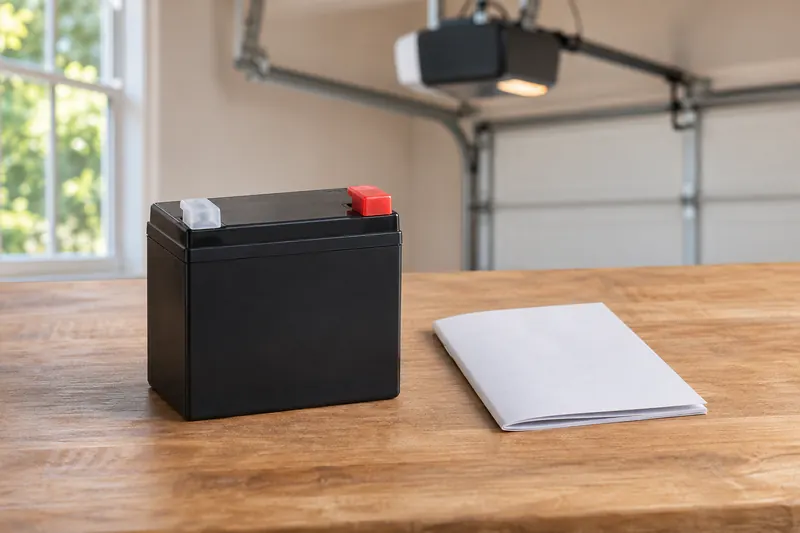
A backup battery can keep a compatible garage door opener working during an outage, but buying a battery with the same voltage is not enough. Match the opener, the backup unit and the manufacturer’s replacement part before opening a compartment. Unplugging an opener does not isolate it when its backup battery is still connected.
This guide covers the backup supply for the motor unit. It does not cover a control remote’s coin cell, a wireless keypad battery or a camera battery. Those separate devices have their own battery instructions.
Identify the system before ordering
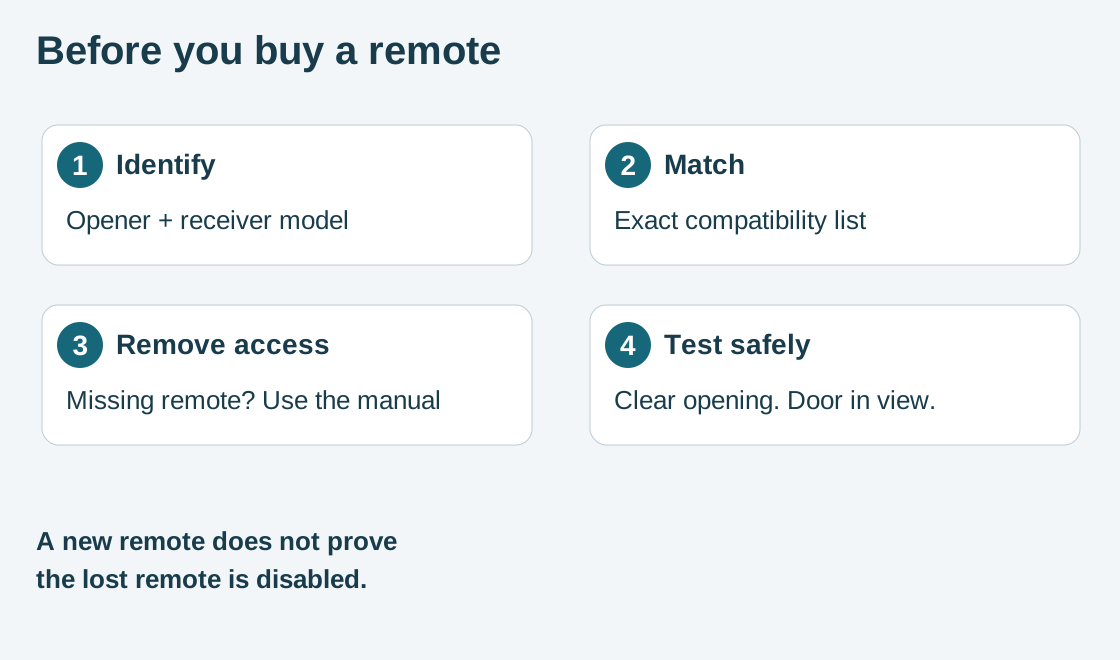
Collect the opener’s full model number and suffix, its serial number, and the manual that applies to that version. Use purchase records or a safely readable label; do not climb on a vehicle or stretch from a ladder to photograph it. If the backup is in a separate box, record that box’s model too.
Then distinguish these purchases:
- Replacement battery: the existing approved backup system stays in place and receives the specified battery.
- Complete backup kit: a compatible opener receives an approved enclosure, connection and mounting arrangement as well as a battery.
- Different opener: a unit without an approved retrofit route may need replacement if backup operation is essential.
A loose battery does not add backup capability to an opener that lacks the required electronics. Do not splice a battery into the opener, adapt connectors, or attach an automotive battery or improvised charging supply.

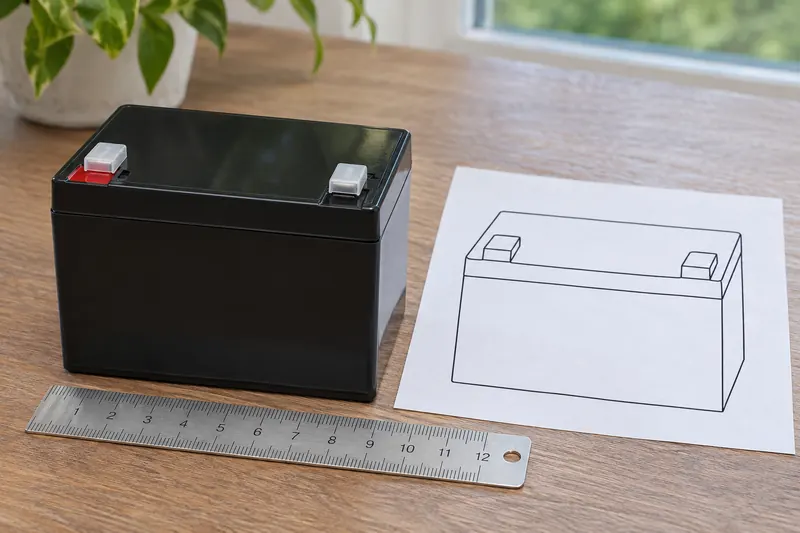
Check compatibility by part number, not appearance
The following examples show how specific the match can be. They are starting points for verification, not a universal shopping list.
| System or part | What the manufacturer identifies | What to check before buying |
|---|---|---|
| Chamberlain 041A6357-1 | This discontinued 12V part’s page directs batteries marked 132B2511, 132B2511-1, -2 or -3 to replacement 4228. | Confirm the old part and opener version. The current replacement product URL uses G4228 while the displayed product number is 4228. |
| Genie 111658.0002.S | A battery-only replacement listed for several models, including 7035 and 7055. Backup hardware is separate. | Confirm the complete model/suffix and existing backup hardware; do not order a battery alone to create a missing system. |
| Genie 41590R | A complete add-on backup for specified Genie 140V motor models, with serial-number restrictions. | The product page excludes otherwise listed models whose serial numbers begin with 12249 or lower. Have Genie resolve any unclear serial/revision match. |
The “140V motors” label in the last example identifies an opener family. It is not permission to buy a 140V battery. Follow the specified backup assembly and battery documentation.
Save the manufacturer’s part confirmation with your receipt. If a retailer’s cross-reference, an older manual and the current parts page disagree, ask the manufacturer which replacement applies to your serial number. Do not resolve a conflict by choosing whichever battery physically fits.
Decide whether replacement is the right next step
Read the battery indicator and any beep pattern against the manual for that exact system. A charging indication after an outage is different from a replacement warning. A repeated beep alone does not identify the failed part.
Write down when the symptom appears: while household power is available, only during an outage, or after a recent installation. Note whether the opener has had the full charging period specified in its manual. Charge time and status colors vary; there is no single chart for every brand.
If the system reports no battery after replacement, possible next checks include the approved part, connection seating and charging status, following the manual with power isolated before access. Do not repeatedly open an energized compartment or keep replacing batteries without a diagnosis. A damaged connection or charging circuit needs service.
A backup battery also cannot correct a broken spring, a crooked door or persistent binding. Stop using a door that moves unevenly or strains the opener. Keep people away and have the door inspected rather than increasing force settings.
Plan a safe replacement
Use the exact replacement instructions as the work procedure. Before starting, confirm that you can meet each of these conditions:
- Safe access: the door can remain fully closed, no one will operate it, and you can reach the specified compartment from a stable working position.
- Both power sources accounted for: identify the normal electrical supply and the backup connection. Follow the manual’s isolation sequence; the battery connection itself must be disconnected as directed before further service. If isolation requires unfamiliar electrical work, use a qualified technician.
- Correct tools and protection: use the tools and protective equipment required by the manufacturer. Remove conductive jewelry; keep keys, screws and metal tools from bridging battery terminals.
- No damaged battery or wiring: stop for swelling, leakage, unusual heat, a cracked case, damaged insulation or corrosion that prevents safe handling. Do not pry, puncture or open the battery. Contact the manufacturer or a qualified service provider for handling instructions.
- A complete reassembly plan: know how the specified connectors, cable routing, cover and retaining parts are restored before power returns.
Do not disconnect the door from the opener merely because another model’s instructions show that step. If your applicable instructions require it, follow their closed-door conditions and safety warnings; if the door’s condition is uncertain, arrange service. Never release an open or partly open door to reach a battery.
During the approved procedure, match terminal markings and connector orientation exactly. Do not force a connector or modify it to fit. Keep wires out of pinch points and reinstall the required cover before restoring power. These are checks to use with the manual, not a substitute wiring sequence.
Charge, test and record the result
After reassembly, restore power in the order specified and allow the prescribed charging period. A new battery should not be judged solely by an immediate outage test.
For the manufacturer’s battery-mode test, keep the compartment closed and the backup connected. A controlled operating test differs from servicing an isolated opener. Use only the manual’s method for removing normal power, then operate from a safe location with the full doorway in view. Stop for unexpected motion, strain or a failed safety function. Do not change travel or force settings during the test.
Restore normal power afterward and confirm the specified charging/normal indication. Record the date, installed part number, observed indicator and test result. If the test fails after the required charge, keep the system out of reliance for outage access and contact support with those details.
Know what backup power will not guarantee
Battery mode may reduce speed or disable convenience features. Genie’s Pro battery-backup guidance, for example, describes reduced speed and unavailable work lighting and Wi-Fi functions. Do not assume myQ control, an integrated camera, unattended closing or garage lighting will remain available on your opener. Check its manual and maintain another safe access plan.
Battery age, temperature, charge and door load affect available operation. An advertised outage duration or cycle count is not a promise for your installation. Avoid unnecessary cycles during an outage and do not use backup power to force a damaged door.
Recycle the removed battery
Keep the old battery intact and away from children and metal objects. Follow its label and the manufacturer’s disposal instructions, and ask a local battery collection facility how it accepts that battery chemistry and condition. Do not burn it or put it in a household recycling cart. For a leaking or damaged battery, obtain handling advice before moving or packaging it.
Common questions
Can I use any battery with the same voltage?
No. Voltage alone does not establish compatible chemistry, connections, charging requirements or approval for the opener. Match the manufacturer’s specified replacement.
Can I add backup power to any older opener?
No. Eligibility depends on the opener model, revision and approved kit. A replacement battery alone does not provide missing backup electronics.
Is unplugging the opener enough before service?
No. A connected backup battery remains a power source. Follow the applicable instructions to isolate both supplies before further service.
Will the app and camera keep working during an outage?
Do not assume so. Backup-mode features vary by model, and some systems disable Wi-Fi or other convenience functions to conserve power. Verify the manual and plan another safe way to operate or access the garage.
Sources & manuals
- Chamberlain: discontinued 041A6357-1 and replacement cross-reference
- Chamberlain: 4228 replacement battery and instruction-sheet link
- Genie: 111658.0002.S battery-only replacement
- Genie: 41590R compatibility, restrictions and safety instructions
- Genie: Pro battery-backup operation and service precautions
- Genie: earlier external backup installation and replacement manual