How to Choose and Install a Replacement Garage Door Keypad
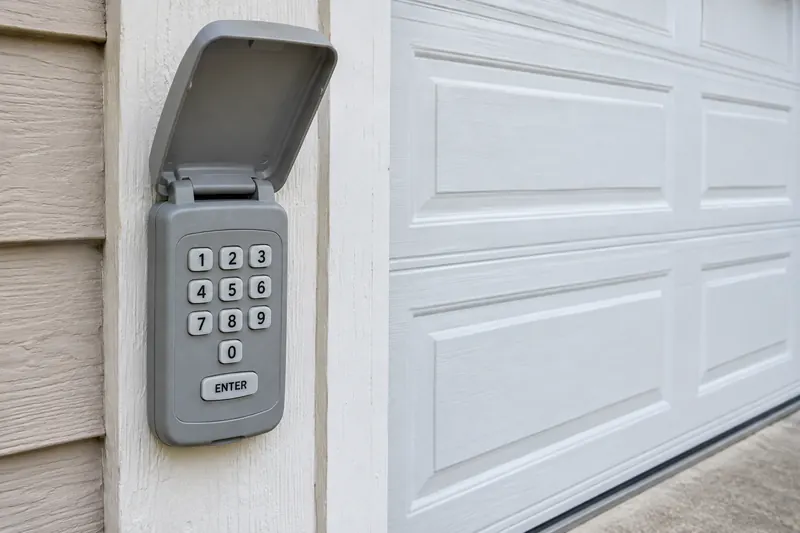
A replacement keypad should solve two problems: it must communicate with your exact opener, and it must work reliably from a safe mounting position. Confirm both before drilling new holes. A matching logo, similar case or the word “universal” is not enough to establish compatibility.
This guide covers replacing a residential wireless outdoor keypad. A wired keypad, commercial access system or damaged door needs a different plan. If the door moves unevenly, has a loose cable, or fails its prescribed safety tests, stop using it and arrange service before adding another control.
1. Decide whether replacement is the right job
Write down the failure before shopping. Is the cover broken, is water entering the housing, or do particular buttons no longer respond? Those are different purchase decisions from a keypad that simply needs its specified battery or correct programming.
If a working control remote and wall control operate the door normally but the keypad does not, that narrows the investigation; it does not prove which keypad part has failed. Complete the model’s basic battery and programming checks first. Avoid buying a second keypad to compensate for a door that cannot close safely.
Keep an independent way into the garage throughout the replacement. Do not remove your only working entry method, close the door and then discover that the new keypad is incompatible.
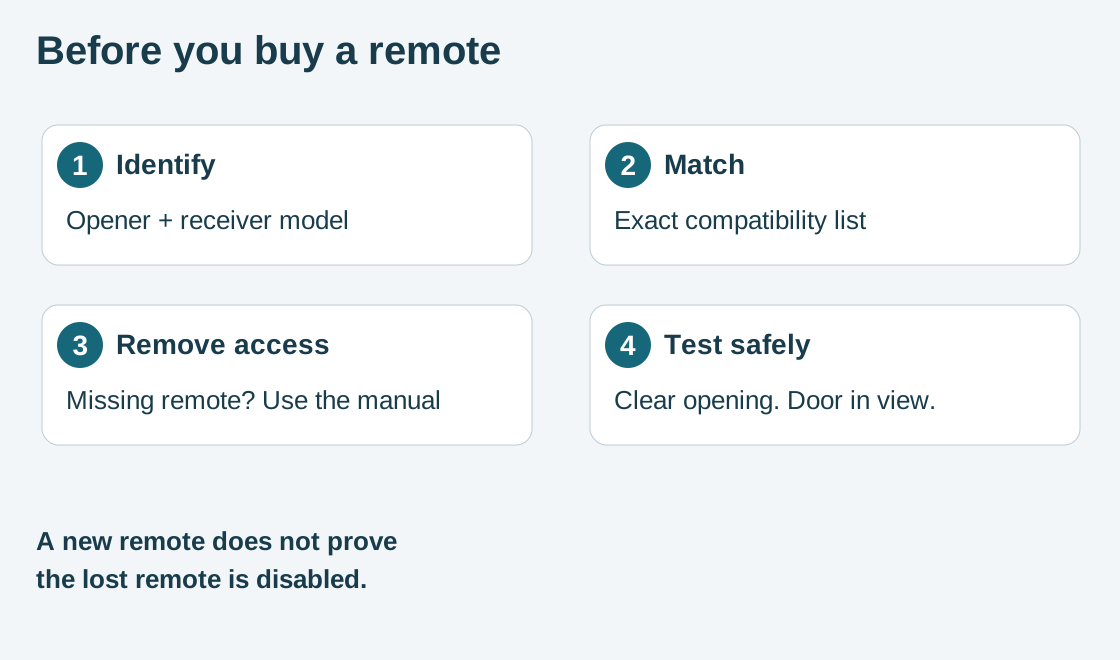
2. Build a compatibility record
Use the opener’s documentation or a safely accessible label to collect:
- Manufacturer and full model number of the motor unit.
- Approximate production date, if the compatibility chart requires it.
- Receiver model if an external receiver has been added.
- The specified radio system or the manufacturer’s identification clue, such as the LEARN button color.
- Full model number and revision of the proposed keypad.
Photograph labels without opening electrical compartments or reaching from an unstable ladder. A seller should be able to point to the exact manufacturer compatibility entry, not just say that a keypad “works with that brand.” If a chart and the supplied manual disagree, ask the manufacturer before buying or programming.
Examples that show why the details matter
Chamberlain’s current compatibility page separates white, yellow, purple, red/orange and green LEARN-button families. It lists newer CH148, CH348 and CHU48 keypads separately from older 940EV models. Do not assume an older keypad supports a newer opener because both carry the Chamberlain name. Use the current chart for your exact combination.
Genie’s Universal Keypad page also limits compatibility to supported specifications. Its rolling-code support does not extend to unlisted systems. Matching a DIP-switch frequency alone does not confirm a tested combination. Genie also limits these accessories to 1993-and-later products with functioning safety sensors.
Neither example is a recommendation to replace your opener. If identification is uncertain, send the model information to the manufacturer or installer and request a confirmed keypad choice.
3. Compare features you will actually use
Start with confirmed compatibility, then compare everyday use. Can you read the buttons at night? Can you open the cover with one hand without leaning into the opening? Is the battery compartment accessible after mounting? If you need to control two doors, check each opener separately and confirm how the keypad selects the intended door.
Record these points before placing an order:
| Question | What to verify |
|---|---|
| One door or several? | Supported number of openers and the procedure for selecting each one |
| Temporary visitor access? | Whether a temporary PIN exists and exactly when it expires |
| Battery servicing? | Specified battery type and access to the cover after installation |
| Outdoor exposure? | Manufacturer-approved location and protection requirements |
| Existing screw holes? | Actual mounting pattern, sound backing and correct fasteners |
Do not choose a product solely because its holes appear to match the old keypad. A small patch to the trim can be preferable to a poor location or an unsupported radio system.

4. Test before making the mounting permanent
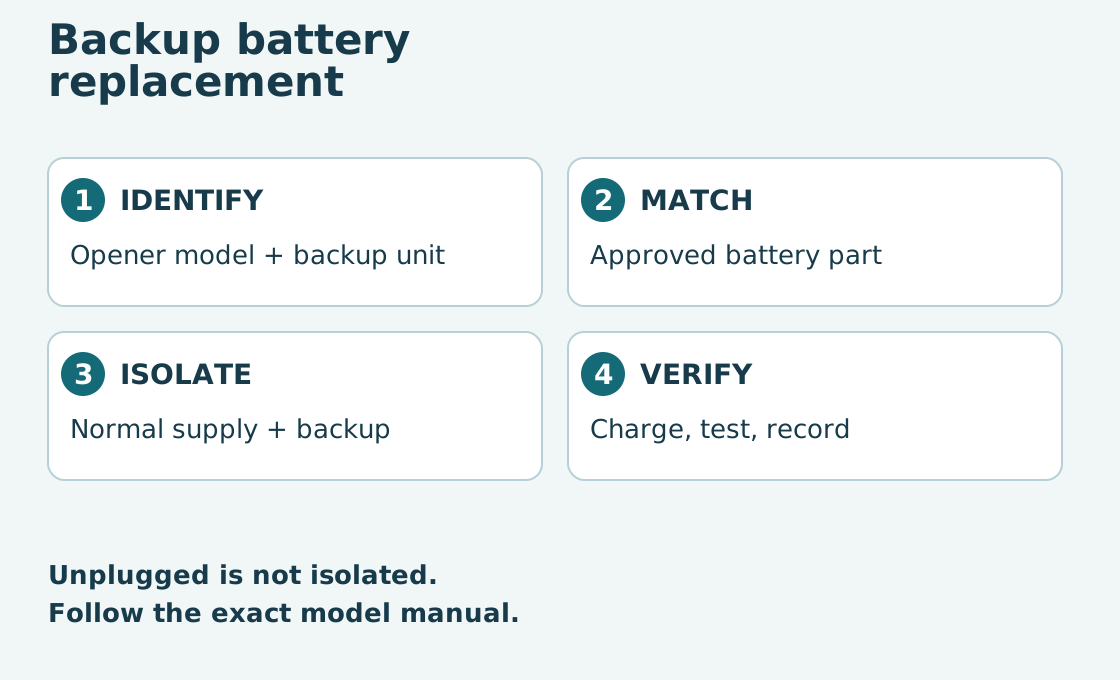
Read the instructions supplied with the exact keypad. Programming steps vary with both keypad and opener. Do not use a generic button-hold sequence from another model: an unintended long press can erase other controls. Genie’s Universal Keypad instructions specifically recommend programming before mounting.
Keep the opening clear and the door fully in view during any commanded movement. Test from the proposed mounting position while standing outside the door’s travel path. Have the household stop using other controls while you work, so an unexpected activation does not confuse the test.
Check that you can operate the intended door consistently, close the cover, and reach the battery compartment. If the keypad only works when held somewhere else, resolve the placement or compatibility issue before drilling. Do not compensate by modifying the opener’s antenna or internal wiring.
5. Mount to a suitable fixed surface
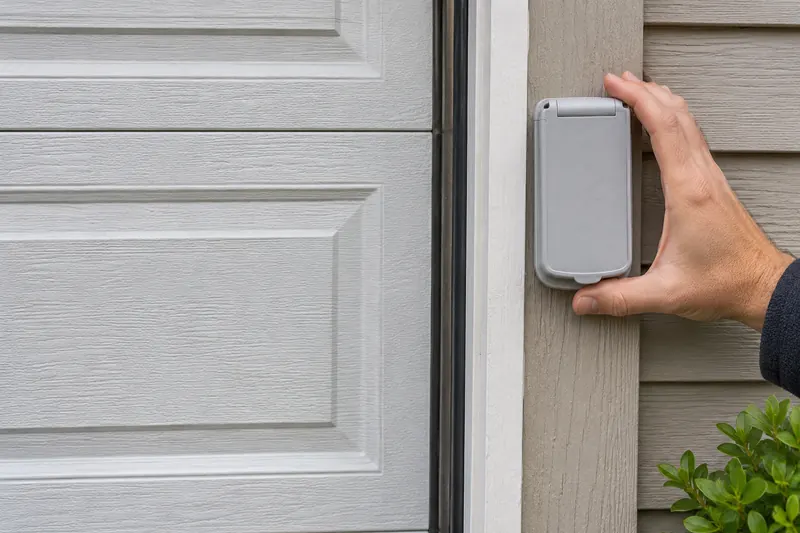
For the Genie Universal Keypad instructions checked for this guide, the location must be in sight of the door, clear of moving parts and at least 5 feet above the floor. Follow the height and location requirements in your own keypad manual; do not lower it for a child’s convenience.
Choose a fixed surface beside the opening, not the moving door, track, sensor bracket or weatherseal. Check what is behind the proposed screw locations. If you cannot establish that drilling will avoid wiring, pipes and concealed components, have a qualified installer handle the mounting.
Use the specified hole pattern and fasteners suitable for the actual material. Old holes may be enlarged, stripped or positioned incorrectly. Do not reuse them merely to avoid measuring. Follow the keypad instructions for removing the battery or cover during fastening, and do not overtighten plastic mounting points. Keep batteries and small parts away from children.
Finish the old mounting holes using a repair method appropriate to the building surface. Do not block drainage openings, glue the keypad’s battery cover shut, or add a sealant bead that the manufacturer has not approved.
6. Check access, not just one successful opening
With people and vehicles clear, confirm normal operation using the new keypad according to its manual. Then check the control remote and wall control so that an accidental memory change is discovered before you leave.
Wait for the keypad’s active period to end before checking PIN behavior. For example, Genie’s Universal Keypad can remain active for 15 seconds after a successful entry; another button press during that interval can affect door movement. Do not mistake that documented behavior for a failed PIN setup.
Removing an old keypad from the wall is not the same as revoking its access. If it is missing, being given away, or has a known PIN you no longer trust, follow the opener and keypad manuals for removing that access. Some systems require a broader memory reset and re-enrollment of retained controls. Plan that deliberately rather than guessing at a reset sequence.
Keep the model information, receipt and manual in a private household record. Store the PIN separately and share it only with intended users. If you use temporary access, verify its cancellation method rather than assuming it expires at midnight.
Common questions
Can I buy any keypad with the same brand name?
No. Match the exact opener or receiver specifications to the keypad manufacturer’s compatibility information. Brand name and case shape are not enough.
Can I reuse the old mounting holes?
Only if the new instructions, hole pattern, supporting material and fasteners allow it. Do not force the case onto incorrectly spaced or damaged holes.
Does taking the old keypad off the wall disable it?
Do not assume so. Use the documented access-removal process for your system, particularly if the old keypad is missing or will leave your possession.
Should I keep trying if the door reverses or moves unevenly?
No. Stop and investigate the door or safety-system fault. A replacement keypad is not a remedy for unsafe mechanical operation or failed safety tests.