How to Install Garage Door Weatherstripping Along the Sides and Top
Quick answer
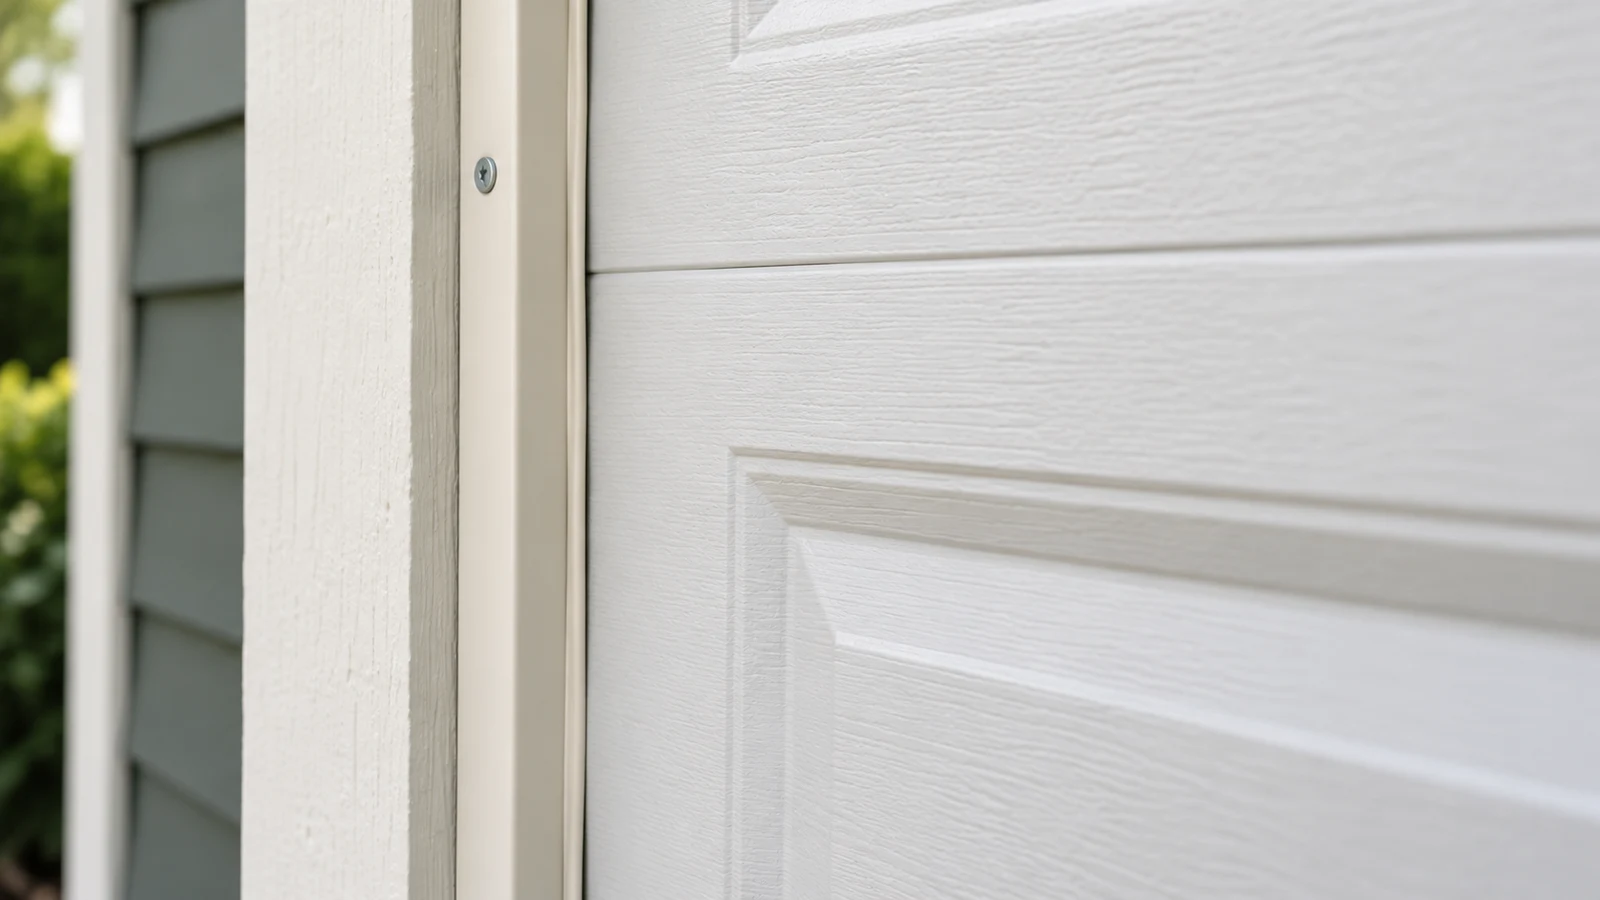
Use compatible side-and-top perimeter seals fixed to the door frame, with the flexible edge meeting the closed door as the seal manufacturer specifies. The seal should reduce drafts without pinning the door against the opening or obstructing its movement.
This guide covers perimeter weatherstripping, not the bottom seal, track alignment or seals between moving sections. We recommend identifying which type you need before removing anything.
Fit, not pressure: A seal that looks tight but makes the door drag is not a successful installation. Do not increase opener force to overcome new friction.
Prerequisites and material limits
Check the door and seal instructions for compatibility with the jamb material, fastening method and required contact. Flexible vinyl or rubber lips, brush seals and integrated trim systems do not share one universal installation method. A damaged or soft jamb needs repair before it can reliably hold new weatherstripping.
Clopay distinguishes perimeter seals along the sides and header from bottom seals and threshold products. That location-based distinction matters when choosing a replacement.
Inspect the closed door first. A wedge-shaped side gap, visibly crooked panel or door rubbing one side may indicate alignment trouble. Do not move the tracks or use thick seal material to hide it.
Tools and time
For a straightforward, accessible replacement, the product may require a tape measure, pencil, suitable cutting tool, approved fasteners and driver, and protective eyewear. Use the actual manufacturer's tool list. Access to the header requires safe equipment and position; if you cannot reach it without overreaching, hire help.
Allow one to several hours, depending on old trim removal, jamb condition, access and product. Adhesive or sealant cure time may extend the job. This estimate excludes structural repairs.
Step-by-step installation workflow
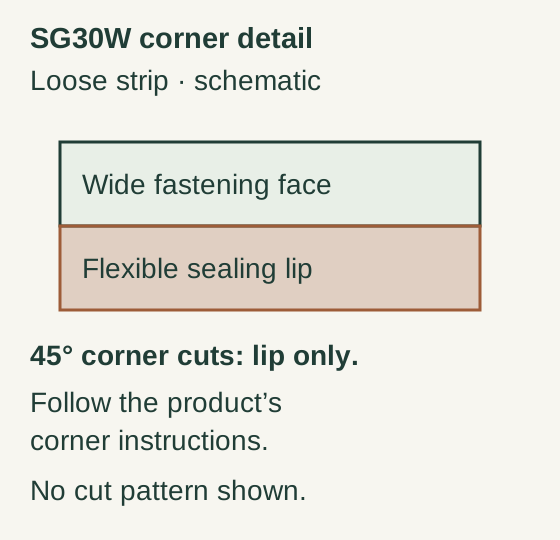
Scroll within the image if needed, or open the full-size view. The key details are also written below.
The flexible sealing lip is distinct from the wide fastening face. SG30W’s stated 45-degree corner instruction concerns the lip. This identification view supplies no cut template, handed cut direction or assembled-corner geometry. Follow the exact product instructions.
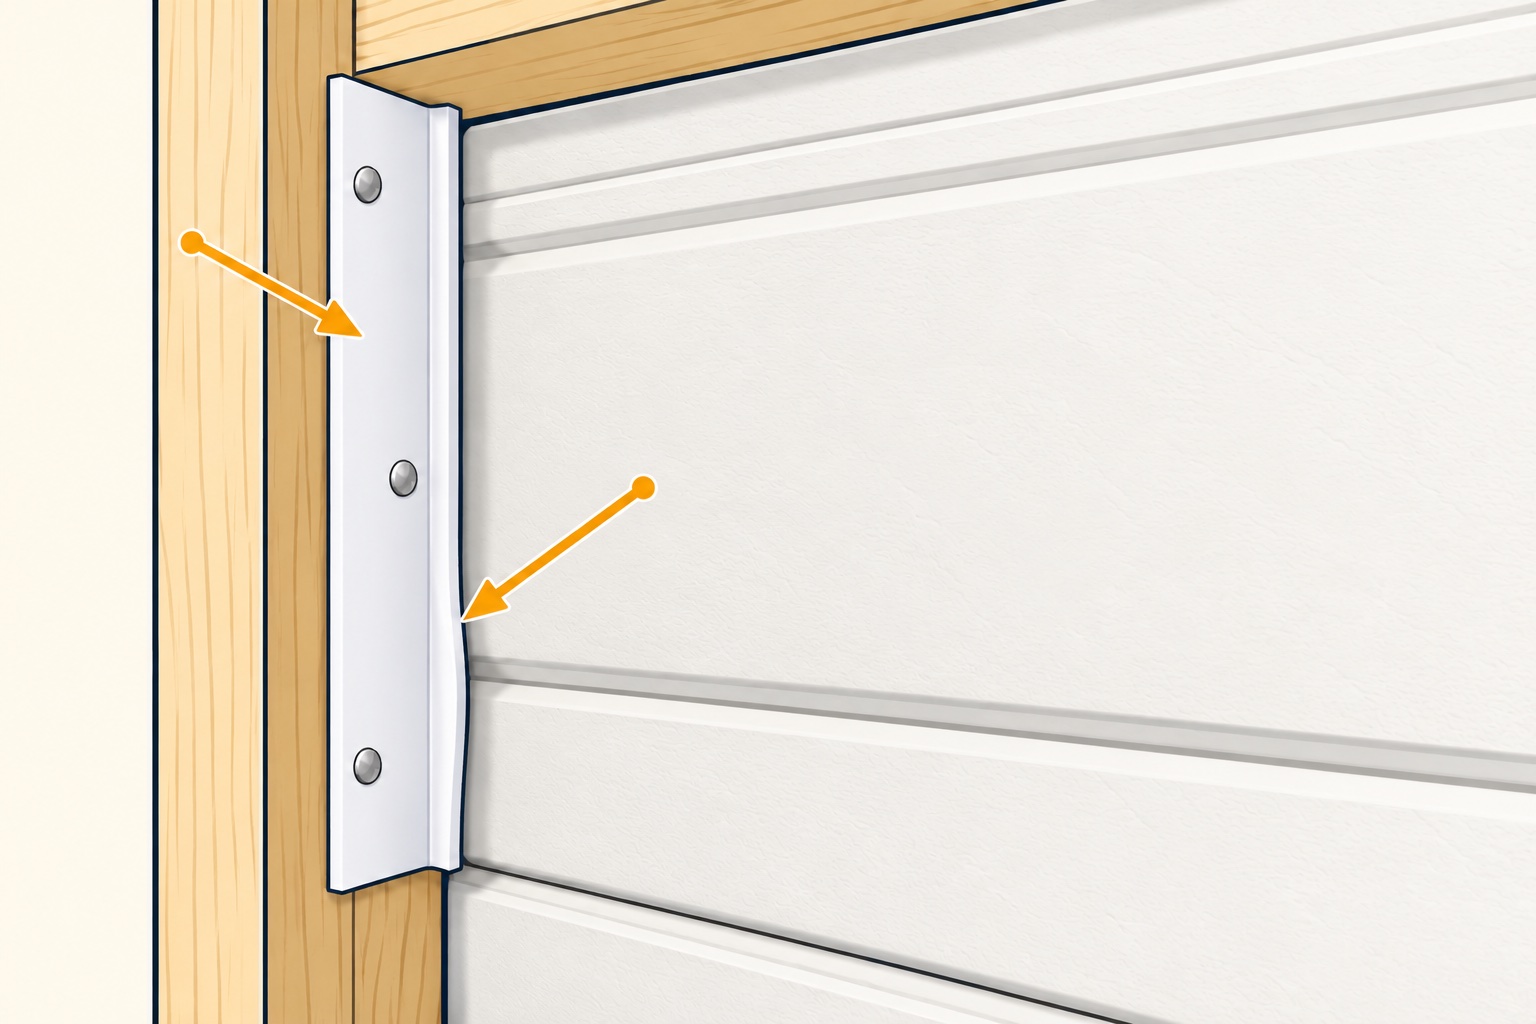
Fasten to the frame; let the lip touch the door
Frost King SG30WH / SG30W example. Start with an intact closed door and prevent operation according to the opener manual. Confirm this product suits your frame and door.
Left arrow: fastening face
The wide flat strip goes on the outside frame—not on the moving door. The pictured heads indicate staggered placement; their spacing is not a measurement template.
Right arrow: sealing lip
The flexible lip contacts the closed door. Do not fasten it to the door, force the door against it or obstruct the sensors.
The SG30W instructions use staggered nails about six inches apart. Their 45° corner instruction applies to the sealing-lip ends; no corner cut is illustrated here. Confirm the fit and movement clearances under the exact product and door instructions. Do not loosen door hardware.
References
- Frost King SG30W top and side seal instructions
- Inspect with the door fully closed. Confirm ordinary safe operation before the project, then prevent unintended activation using the opener manual. Record the existing contact pattern and gap locations. Expected result: a normally aligned door with worn perimeter material, not an unresolved mechanical problem.
- Measure and choose the correct system. Measure each side and the header separately, and record trim width and available fastening surface. Expected result: enough material for the manufacturer's corner and cutting details. Do not assume the two side pieces are equal or order only by nominal door size.
- Remove only nonstructural seal trim. Follow the old system's removal method without disturbing track brackets, structural jamb members or sensor mounts. Expected result: an intact fastening surface. If a fastener's purpose is uncertain, stop and identify it before removal.
- Prepare and dry-fit the new pieces. Clean the intended surface and check the product's fit and corner instructions before final cuts or adhesive. Expected result: continuous coverage without bunching at corners or crossing the sensor beam. Keep backing and flexible lip in their intended orientation.
- Set contact according to the seal instructions. With the door stationary and closed, position the pieces so the lip meets the door as specified. Temporarily locate them only if the instructions allow a safe method. Expected result: contact along the intended edge without heavy compression or a rigid obstruction to travel.
- Fasten using the specified spacing and method. Avoid overtightening, distorting the backing or leaving sharp protrusions. Do not attach weatherstripping to the moving track as a substitute for the jamb. Expected result: a secure, straight strip with a flexible working edge.
Climaloc CF20166 — product-specific detail
- CF20166 is a different perimeter-seal system from the SG30W example above. Its instructions show the cover seated over the fastening channel and an assembled top corner. Use those details only with the matching product. Keep the door closed and stationary while working, prevent unintended operation, and use safe access at the header. Follow the product’s positioning and movement-check instructions.
Climaloc CF20166 installation instructions
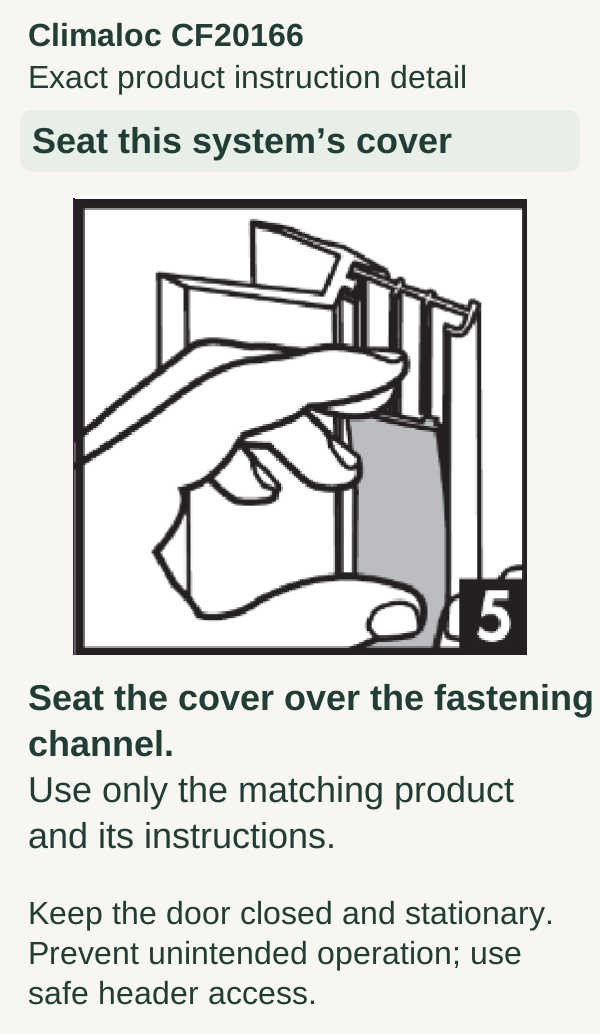
CF20166 example: seat the cover over the fastening channel. Scroll within the image if needed, or open the full-size view. The key details are also written below.
Climaloc CF20166 Exact product instruction detail Seat this system’s cover Seat the cover over the fastening channel. Use only the matching product and its instructions. Keep the door closed and stationary. Prevent unintended operation; use safe header access.
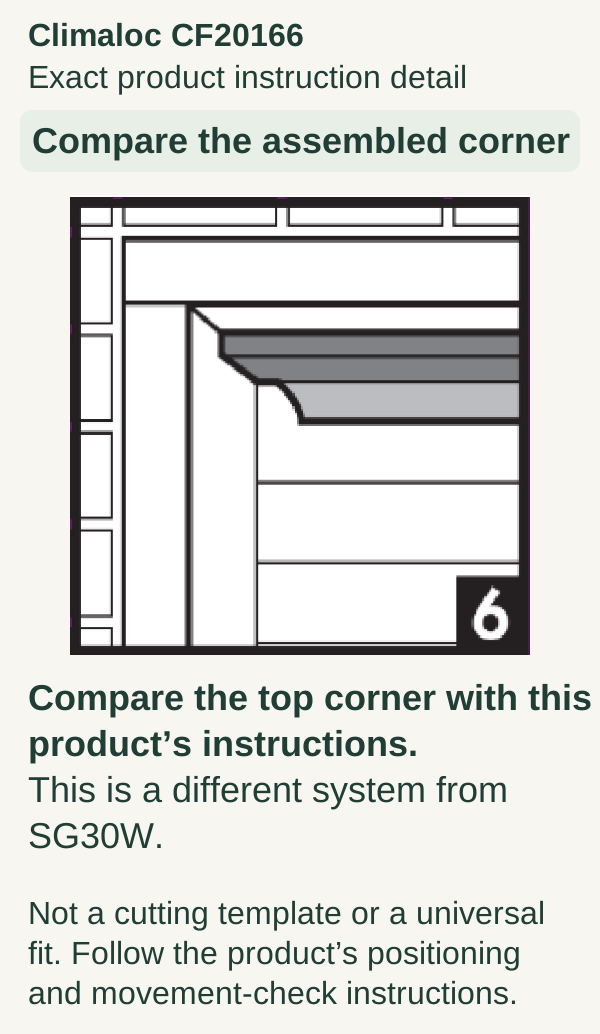
CF20166 example: compare the assembled top corner with this product’s instructions; not an SG30W cutting template. Scroll within the image if needed, or open the full-size view. The key details are also written below.
Climaloc CF20166 Exact product instruction detail Compare the assembled corner Compare the top corner with this product’s instructions. This is a different system from SG30W. Not a cutting template or a universal fit. Follow the product’s positioning and movement-check instructions.
- Clear the area and verify movement. After any required cure, remove all tools and restore operation according to the opener manual. Observe from clear of the travel path. Expected result: normal movement without catching, folding or rubbing. If the seal binds, stop use and correct its installation; do not change opener force.
- Check the finished corners and safety functions. Look for an unsealed joint, loose end or a lip that enters the photoeye beam. Complete the opener's prescribed safety tests. Expected result: weather protection without sacrificing movement or detection.
Practical tips and common mistakes
Cut once only after comparing the dry-fit layout with the product instructions. A small note identifying “header,” “left” and “right” helps when pieces look almost identical on the floor.
Do not caulk across a moving gap between the door and seal. Sealant, where specified, belongs at the stationary interfaces intended by the product. Paintable backing does not mean the flexible lip is paintable.
Practical tip: Check contact again after the first normal operating day. A loose end or folded lip is easier to correct before it becomes a recurring snag.
Safety boundaries
Do not put fingers into section joints to feel for a draft. Do not test the fit while someone slowly operates the door beside you. Keep ladders and tools out of the doorway before any movement.
If the door develops a new closing fault, leave it out of automatic use until the cause is identified. A manufacturer's safety test is part of returning a modified installation to service.
FAQ
Should the seal press hard against the door?
Only the prescribed contact should be used. Excess pressure can produce drag and premature wear.
Can we reuse old fastener holes?
Only if the new product permits it and the substrate remains sound. A stripped or damaged hole is not a reliable attachment point.
Will perimeter seals stop water under the door?
They address the sides and header. Bottom gaps and drainage need their own diagnosis.
Explore guides · About this guide
Was this guide useful?
Your choice stays in this browser only. It is not sent to us.
Sources & manuals2
Manufacturer instructions and references for this guide. Match the document to your exact product.
- Frost King SG30W top and side seal instructionswww.frostking.com
- Climaloc CF20166 installation instructionsclimalocsolutions.com