How to Seal Garage Door Gaps: Find the Cause Before Buying a Seal
Quick answer
Locate the gap while the door is safely closed, then identify whether it comes from a worn seal, uneven floor, damaged section or alignment problem. Replace compatible weather seals where appropriate; do not force the door farther down, bend tracks or fill moving joints with caulk or expanding foam.
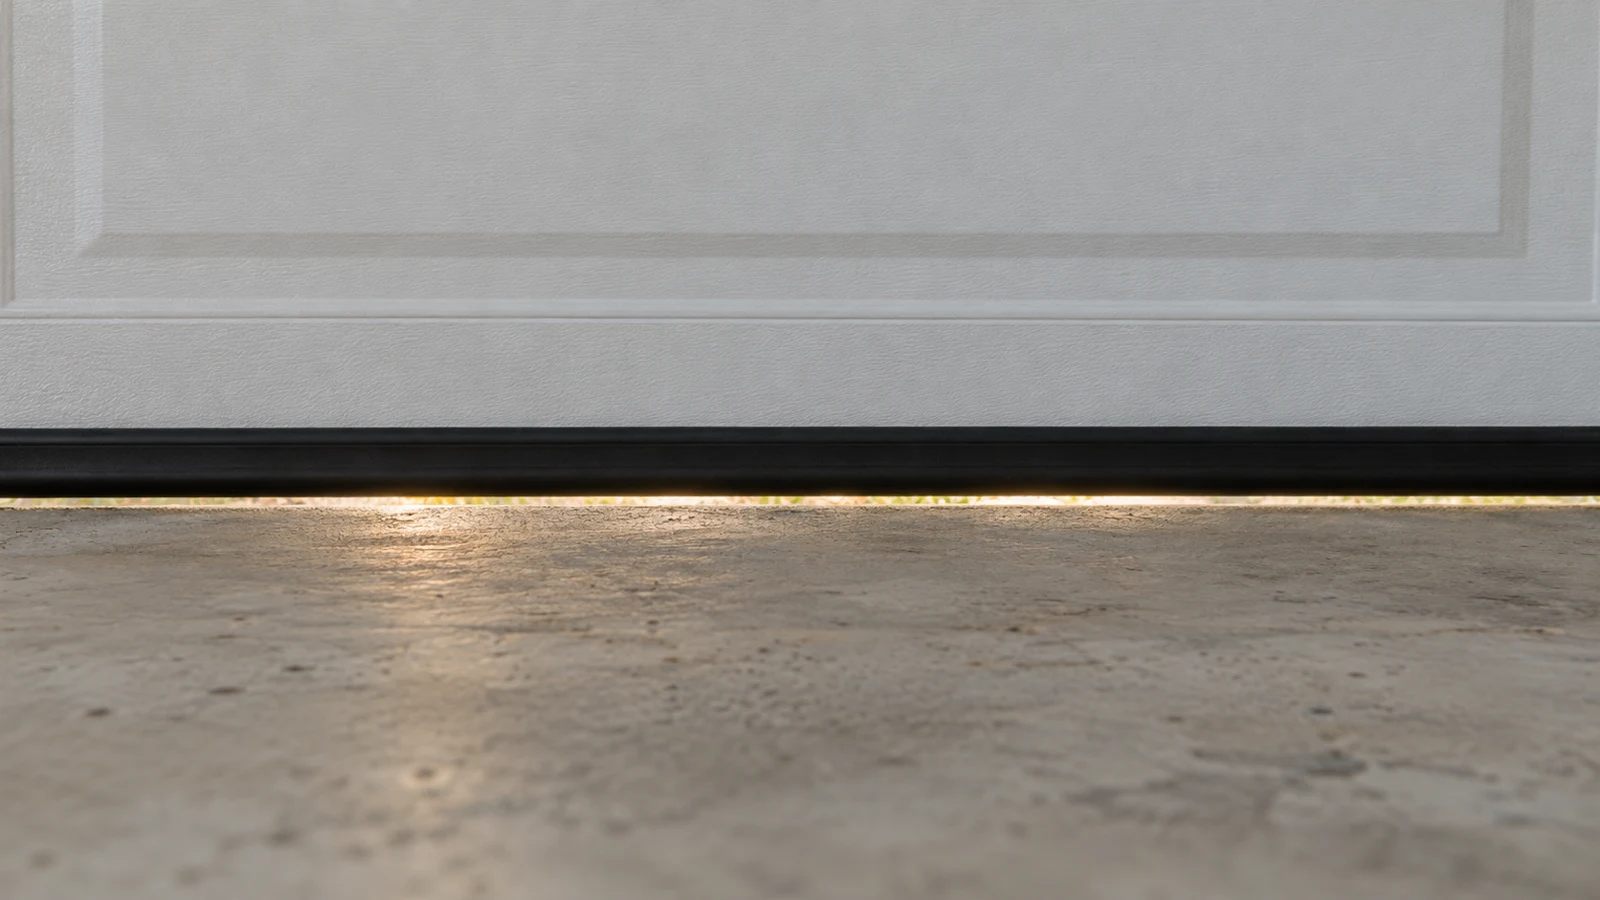
We recommend making a simple gap map before shopping. “Cold air near the door” is too broad to identify the right product, while “light at the lower right corner beside a torn strip” is actionable.
Mechanical warning: A new wedge-shaped gap, tilted door or changed movement may be a door-system fault. Stop operation rather than using thicker weatherstripping to disguise it.
Prerequisites and limits
Start with a normally operating door, fully closed. Do not force a jammed door into the closed position for inspection. Keep children and pets away and prevent someone from operating the door while you examine it.
This guide covers diagnosis and compatible weather-seal planning. It does not authorize track adjustments, bottom-bracket work, spring changes or filling ventilation openings. A garage-door seal is not a flood barrier.
Manufacturer guidance distinguishes bottom, threshold and perimeter seals because they address different locations.
Tools and time
A flashlight, ruler, tape measure, paper and camera are usually enough for a first survey. Allow 20–40 minutes for inspection and documentation, with installation planned separately. Do not use a flame to find a draft or place your fingers into a joint.
Step-by-step gap diagnosis
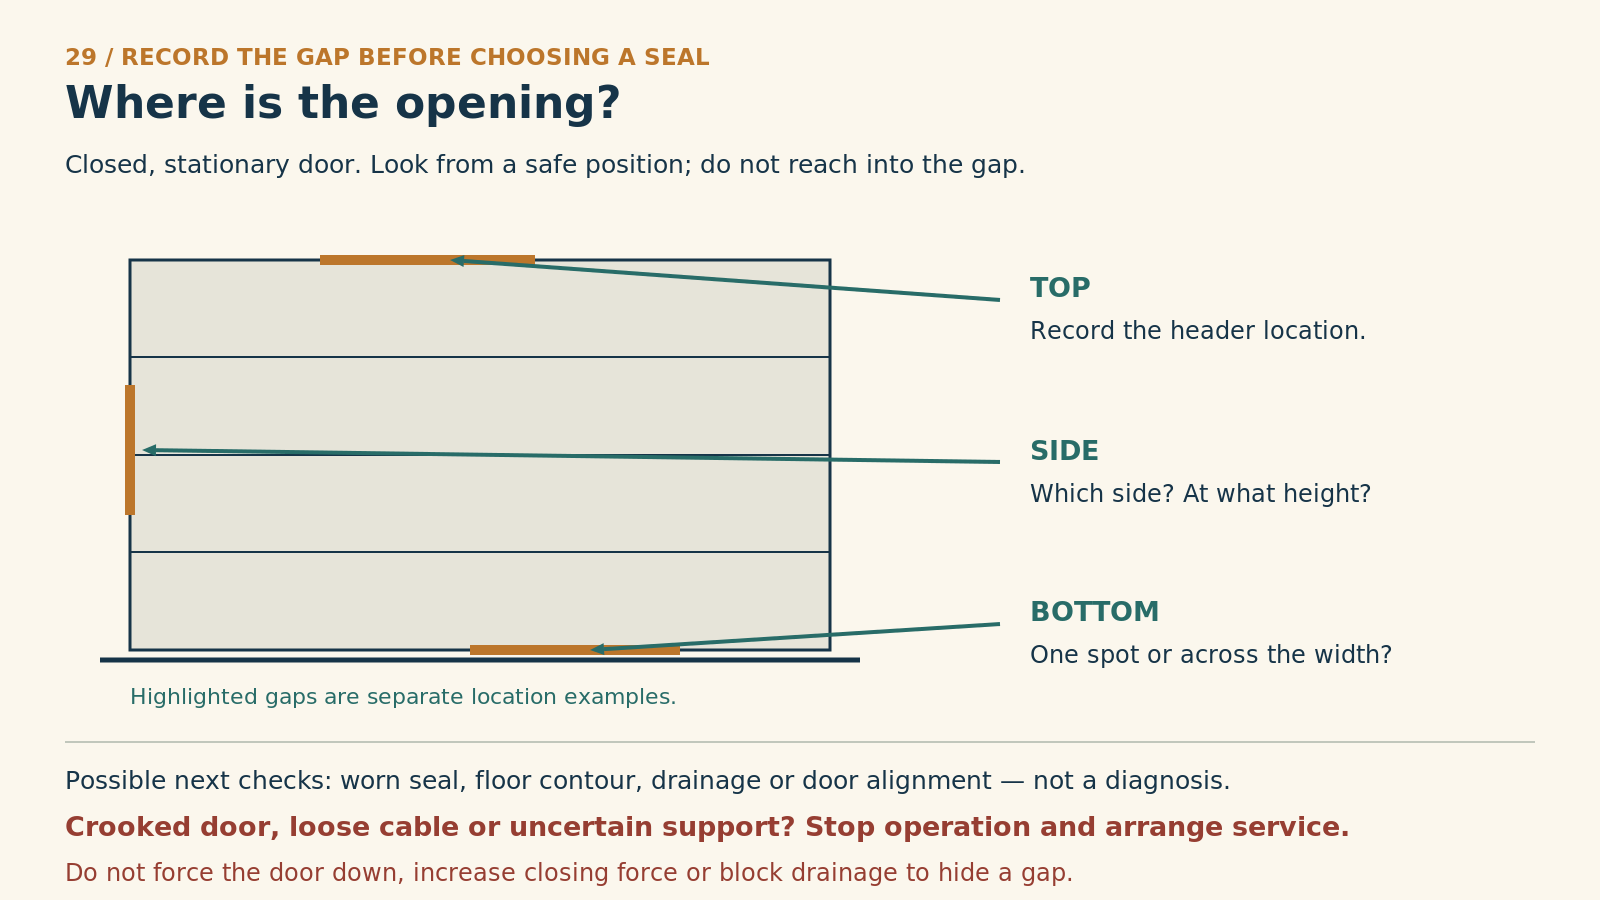
Locate the gap before choosing a fix
Observe only with the door closed and stationary from a safe position. Do not put fingers under the door, command it against an obstruction or force a crooked door down.
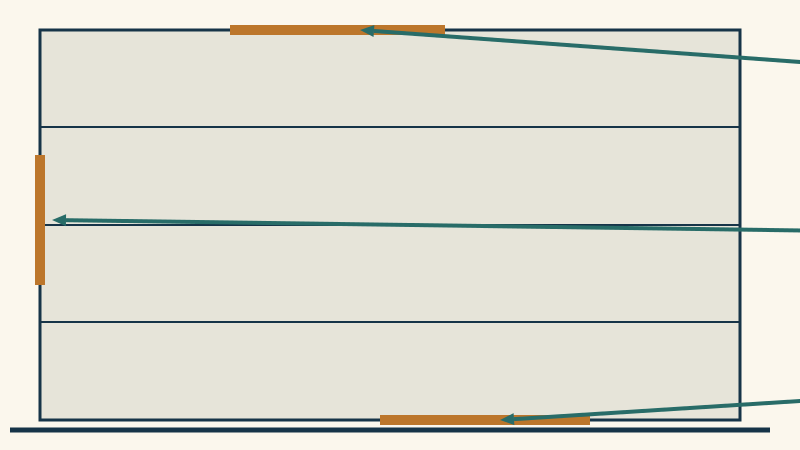
Top
Record where the header gap appears and whether the perimeter seal looks damaged.
Side
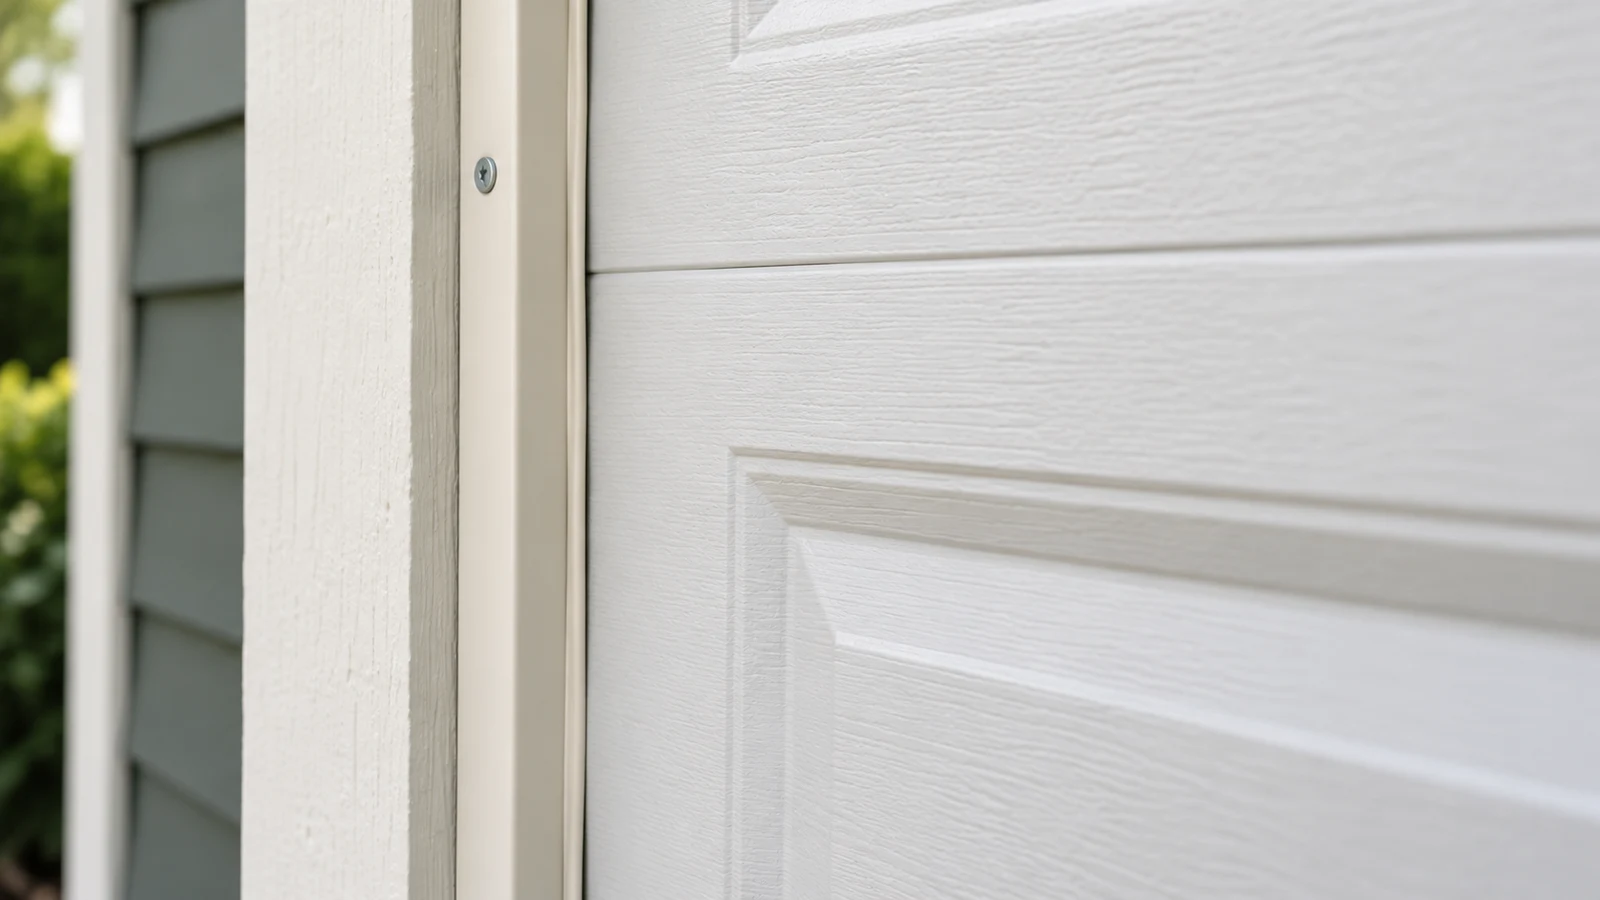
Record left or right and the height of the gap. A gap alone does not prove the track needs adjustment.
Bottom
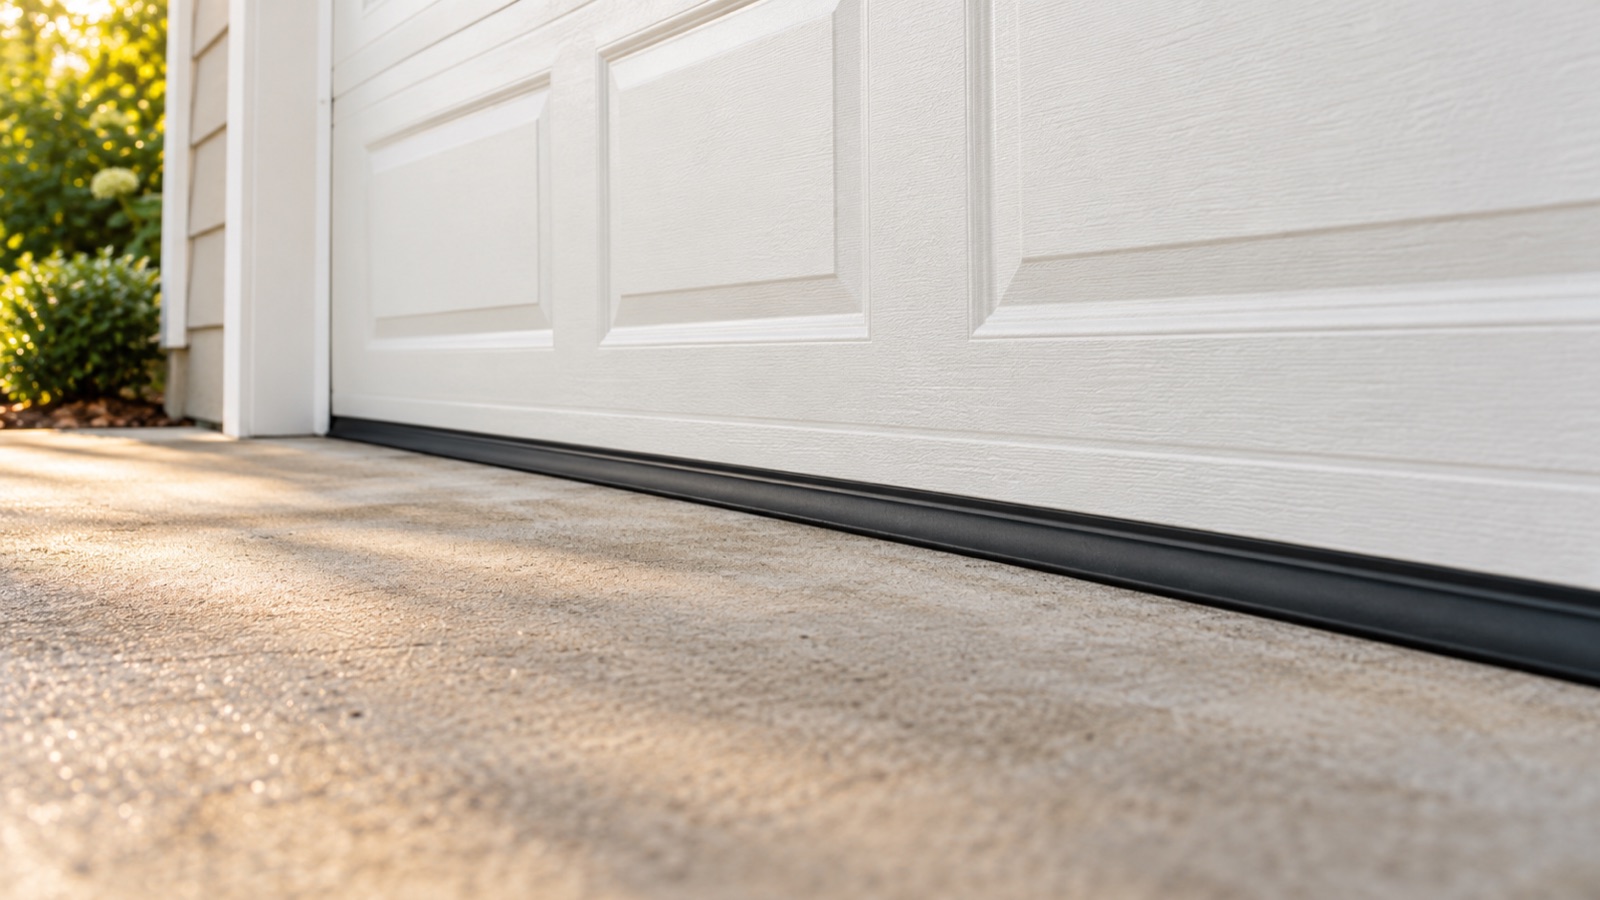
Record whether the gap is localized or spans the width; note visible seal wear and floor contour.
Possible next checks include seal condition, floor or drainage conditions and door alignment. Do not infer a single cause from light showing through. A crooked door, loose cable or uncertain support means stop operation and seek service. Do not raise closing force or block drainage to conceal a gap.
References
- Genie — Maintaining your garage door
- Draw the opening. Mark the header, left and right jambs, floor and section joints. Note which way you are looking so left and right stay consistent. Expected result: a record that someone else can understand without standing next to you.
- Check the perimeter with the door stationary. Look for daylight, missing seal material, folded lips and visible tears. Measure accessible gaps without pushing a ruler into a pinch point. Expected result: a specific location and approximate size. A gap beside the door needs a different part from one beneath it.
- Compare the bottom edge with the floor. Look for a consistent gap, an isolated low spot or a wedge from one side to the other. Expected result: an initial distinction between seal wear and geometry. Do not conclude that a wedge is harmless floor slope if the door has recently changed its position or operation.
- Look at the seal itself. Check whether it is cracked, pulled from its retainer or flattened. Photograph the visible profile. Expected result: evidence for a matched replacement. If the retainer or bottom section is damaged, treat that as a separate repair question.
- Check the sides and header. Look for missing perimeter strips or a flexible edge no longer meeting the door. Expected result: an identifiable trim/seal problem on an otherwise sound frame. If the door rubs one side and leaves a gap on the other, stop and seek alignment assessment instead of moving the trim aggressively.
- Treat section-joint gaps differently. Do not inject foam or caulk between moving sections. Record any crack, failed built-in seal or distorted panel and consult the door manufacturer. Expected result: the correct model-specific repair path rather than a joint glued shut.
- Match the remedy to the finding. Worn side/header seals lead to perimeter replacement; an aged bottom strip leads to retainer-compatible replacement. A floor or drainage issue needs evaluation of that surface and water route. Mechanical changes need a door technician. Expected result: one justified action, not a cart full of unrelated sealing products.
- Verify after the repair. Check static contact, then safe operation and the prescribed opener tests. Expected result: reduced gaps with normal free movement. New drag or reversal means the installation needs correction, not extra closing force.
What to do about water
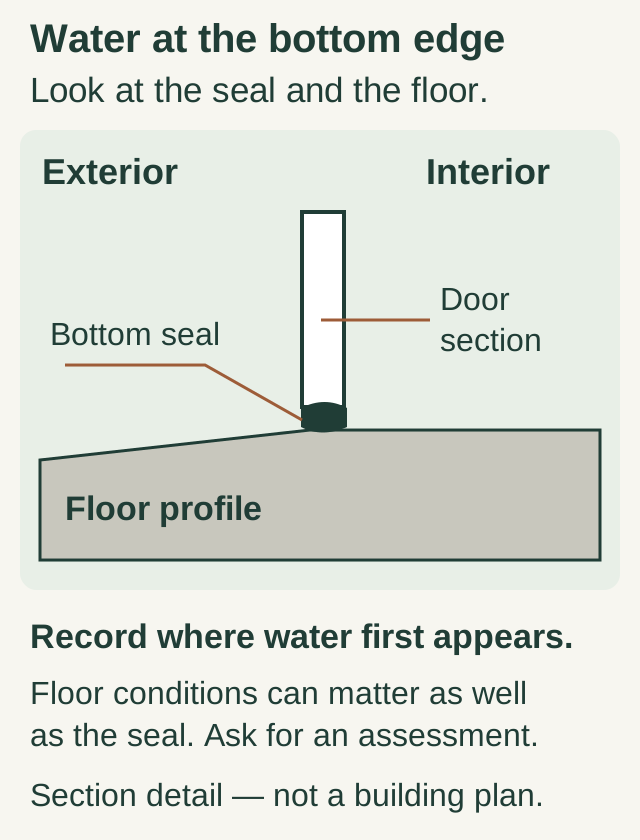
Scroll within the image if needed, or open the full-size view. The key details are also written below.
This side-section example distinguishes the door’s bottom seal from the exterior floor profile and interior slab. Record where water first appears.
Floor conditions can matter as well as the seal. Request an assessment instead of assuming a new seal will cure water entry. The diagram is not to scale and is not a building plan or floor-modification instruction.
Trace where water first enters during ordinary rain from a safe, sheltered location. Water across the entire threshold, water from a side joint and water following a crack in the slab are different clues. Photographs after the event can help without requiring you to stand in a wet doorway.
A threshold strip can change how water drains out as well as in. Before bonding one down, consider the floor slope, existing drainage route and product compatibility. Do not use a threshold to conceal an unresolved door fault or promise that it will prevent flooding.
Practical tip: Put the date and weather on your gap map. A problem that appears only in wind-driven rain needs a different investigation from a constant visible opening.
Common mistakes and safety
Do not increase force, move limit settings blindly or add weight to make the door press harder on a seal. Do not loosen bottom brackets when investigating a low corner; those attachments involve the spring system.
Use the smallest repair scope that actually addresses the confirmed cause. An apparently larger seal may introduce drag without solving the original gap.
FAQ
Is all visible light a failed seal?
It is a clue, not a complete diagnosis. Identify the location, construction and expected contact for your system.
Can we use foam tape between panels?
Only a model-approved joint-seal system should be used. Generic tape can interfere with articulation or detach into moving parts.
Why is one lower corner open?
Possible causes include the floor, seal, panel or alignment. A new or changing gap warrants inspection, especially with uneven movement.
Explore guides · About this guide
Was this guide useful?
Your choice stays in this browser only. It is not sent to us.
Sources & manuals1
Manufacturer instructions and references for this guide. Match the document to your exact product.
- Genie — Maintaining your garage doorwww.geniecompany.com