Plan a Garage Door Opener Installation or Replacement
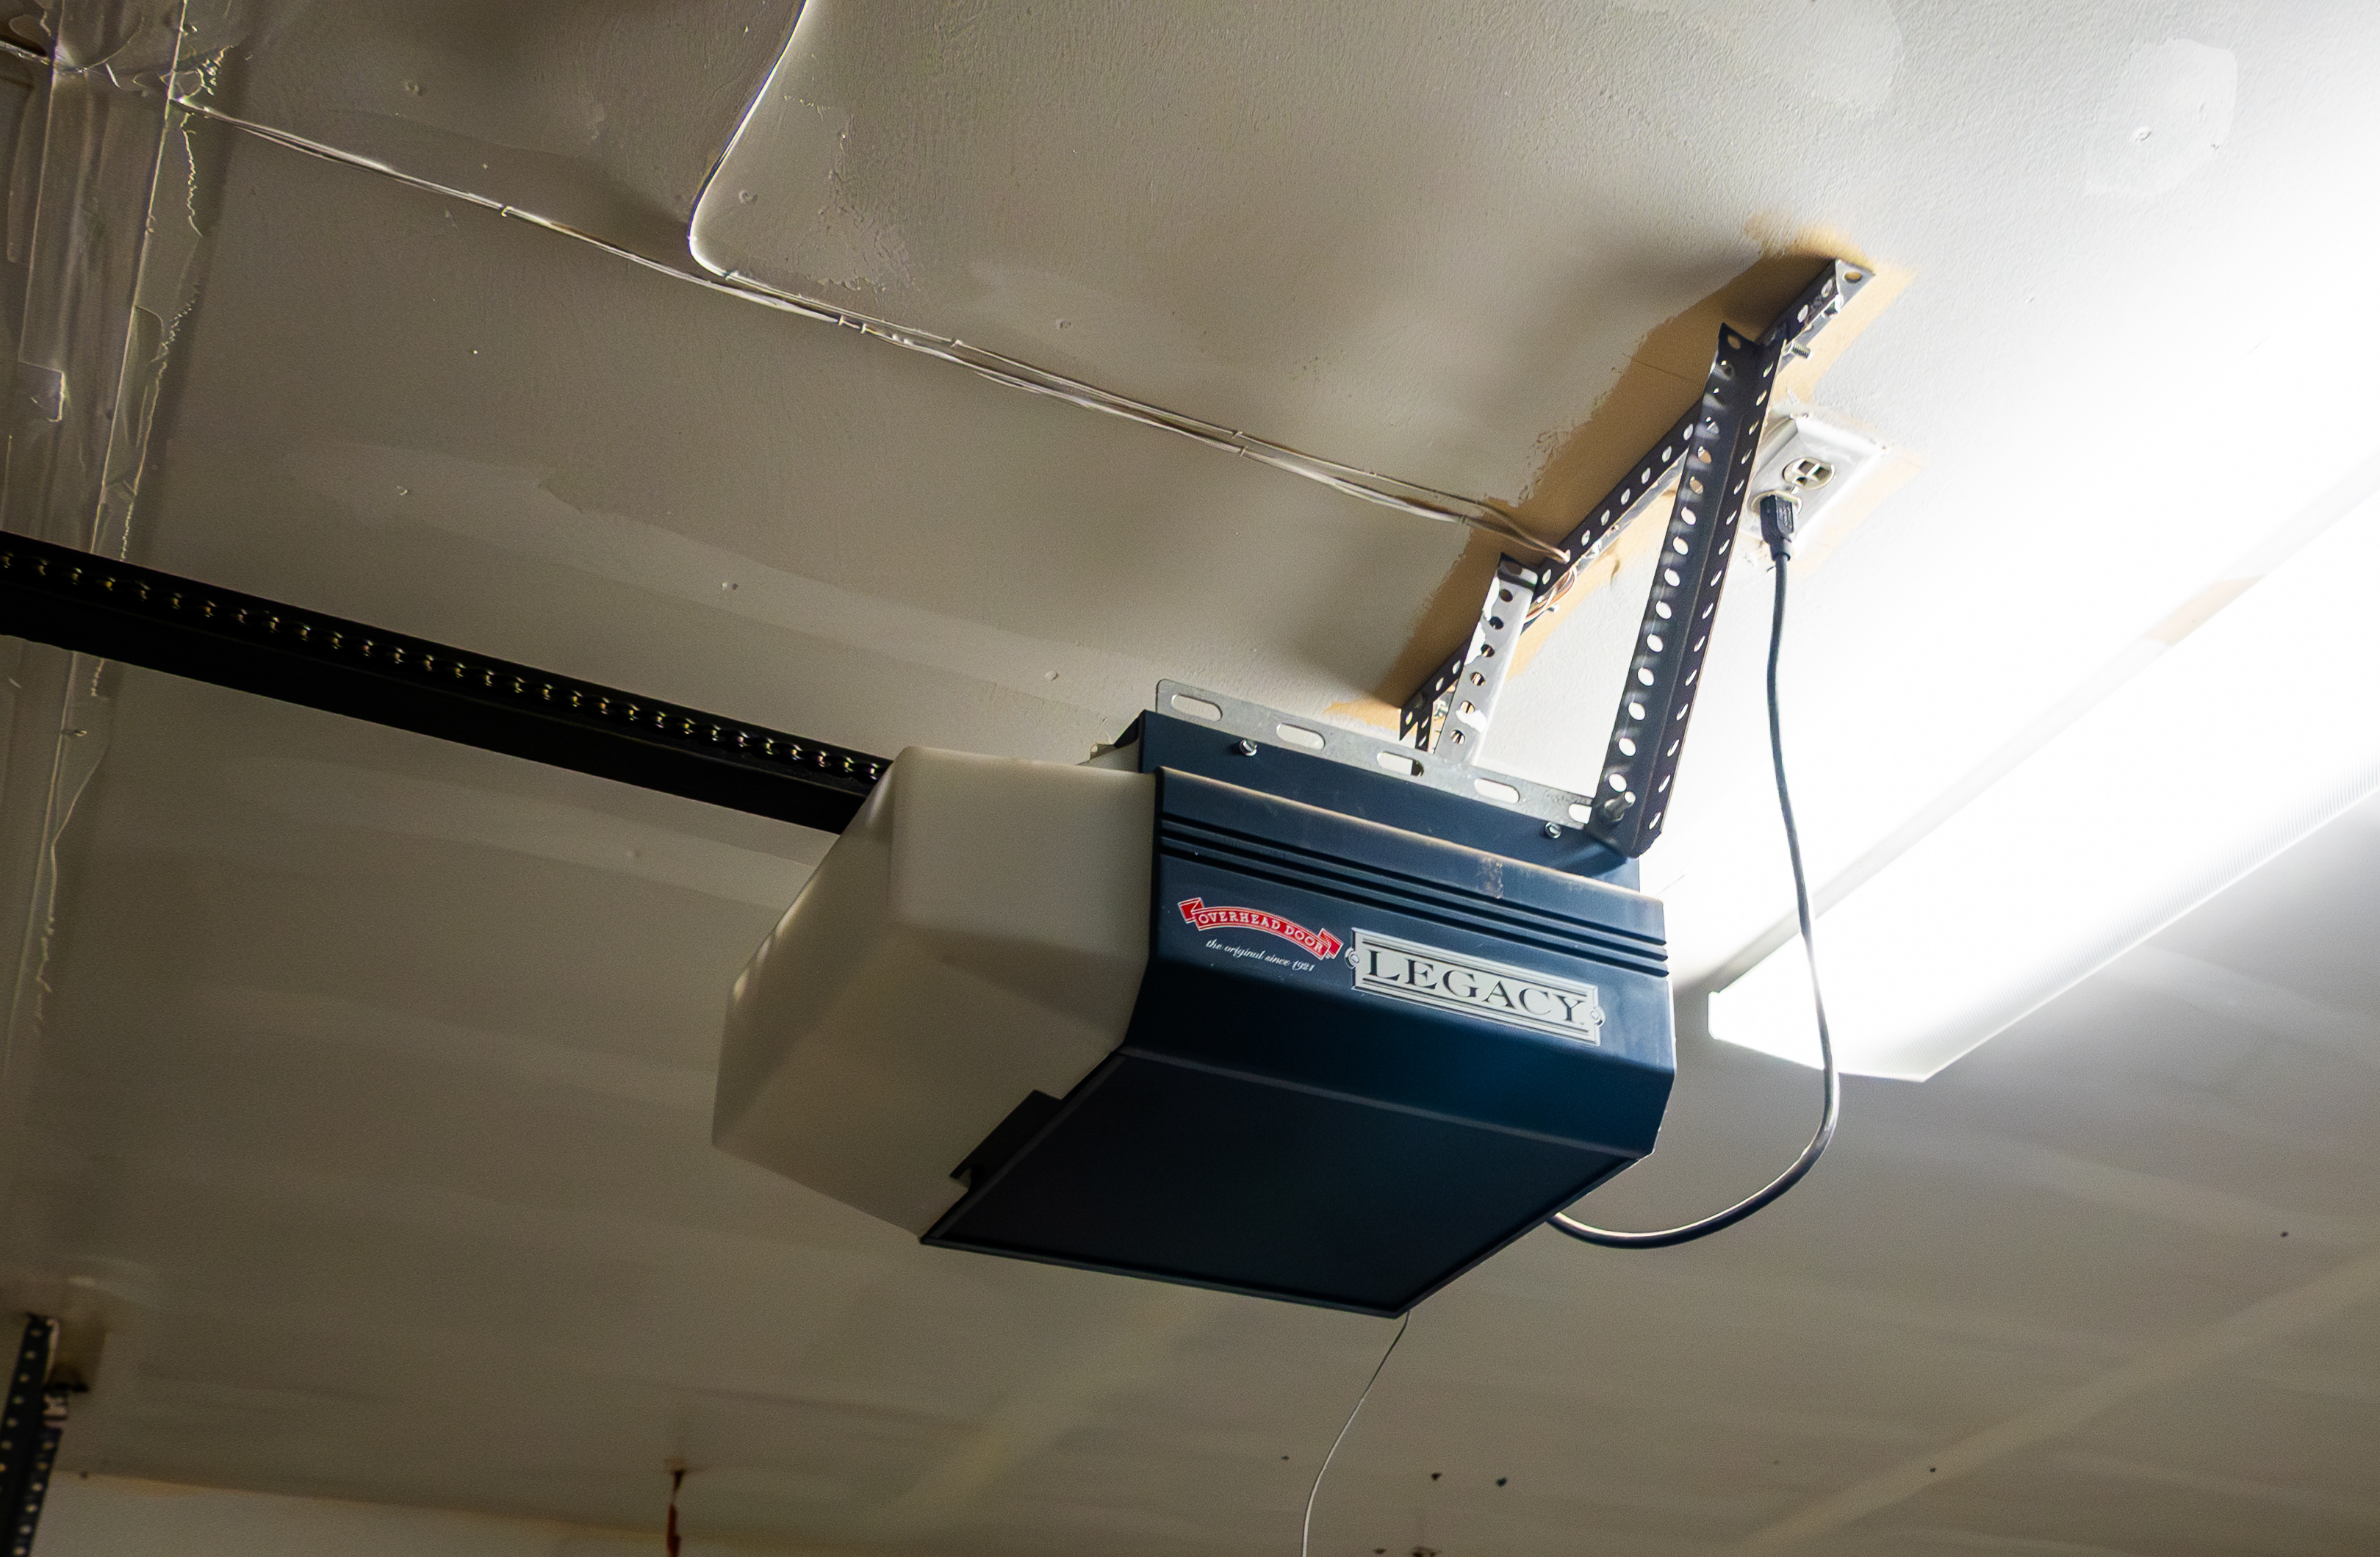
A replacement garage door opener is not just a new motor on the ceiling. It is a matched operating system attached to a door that must already be suitable for powered operation. The useful planning question is not “Will this unit lift it?” but “What needs to be checked, replaced, retained and demonstrated before this garage returns to daily use?”
This page plans an opener-only installation. Use the whole-door installation guide if the door assembly is also being replaced. Detailed electrical requirements and opener installation quote comparisons are covered separately, so the steps here stay focused on compatibility, scheduling and commissioning.
This guide covers homeowner preparation for a professionally installed residential opener, principally a ceiling-mounted unit on a sectional door. It does not provide mounting, wiring or spring-work instructions. Keep the actual opener manual and the door manufacturer's requirements at the center of the plan.
1. Separate the door problem from the opener project
Start with the reason for the job: intermittent operation, an unavailable replacement part, a failed safety check, unreliable controls or a desired feature. Describe symptoms rather than deciding that the motor is too weak. Note when the problem occurs and whether a recent door repair or impact preceded it. A short description gives the installer a better starting point than an assumed diagnosis.
Ask for a door-condition assessment before approving an opener-only replacement. Binding, damaged sections, worn hardware and an unbalanced door are not problems to conceal with a stronger operator. The professional should identify whether the door needs work first and whether that work is included or separately scheduled. Do not disconnect or move a suspect door to conduct your own balance experiment.
Agree what happens if the assessment changes the job. You might authorize diagnosis first, then decide between repair and replacement with the findings in hand. A new operator should not be the automatic answer to every failure, and a planned upgrade should not keep an unsafe door in service.
2. Make an inventory before choosing the replacement
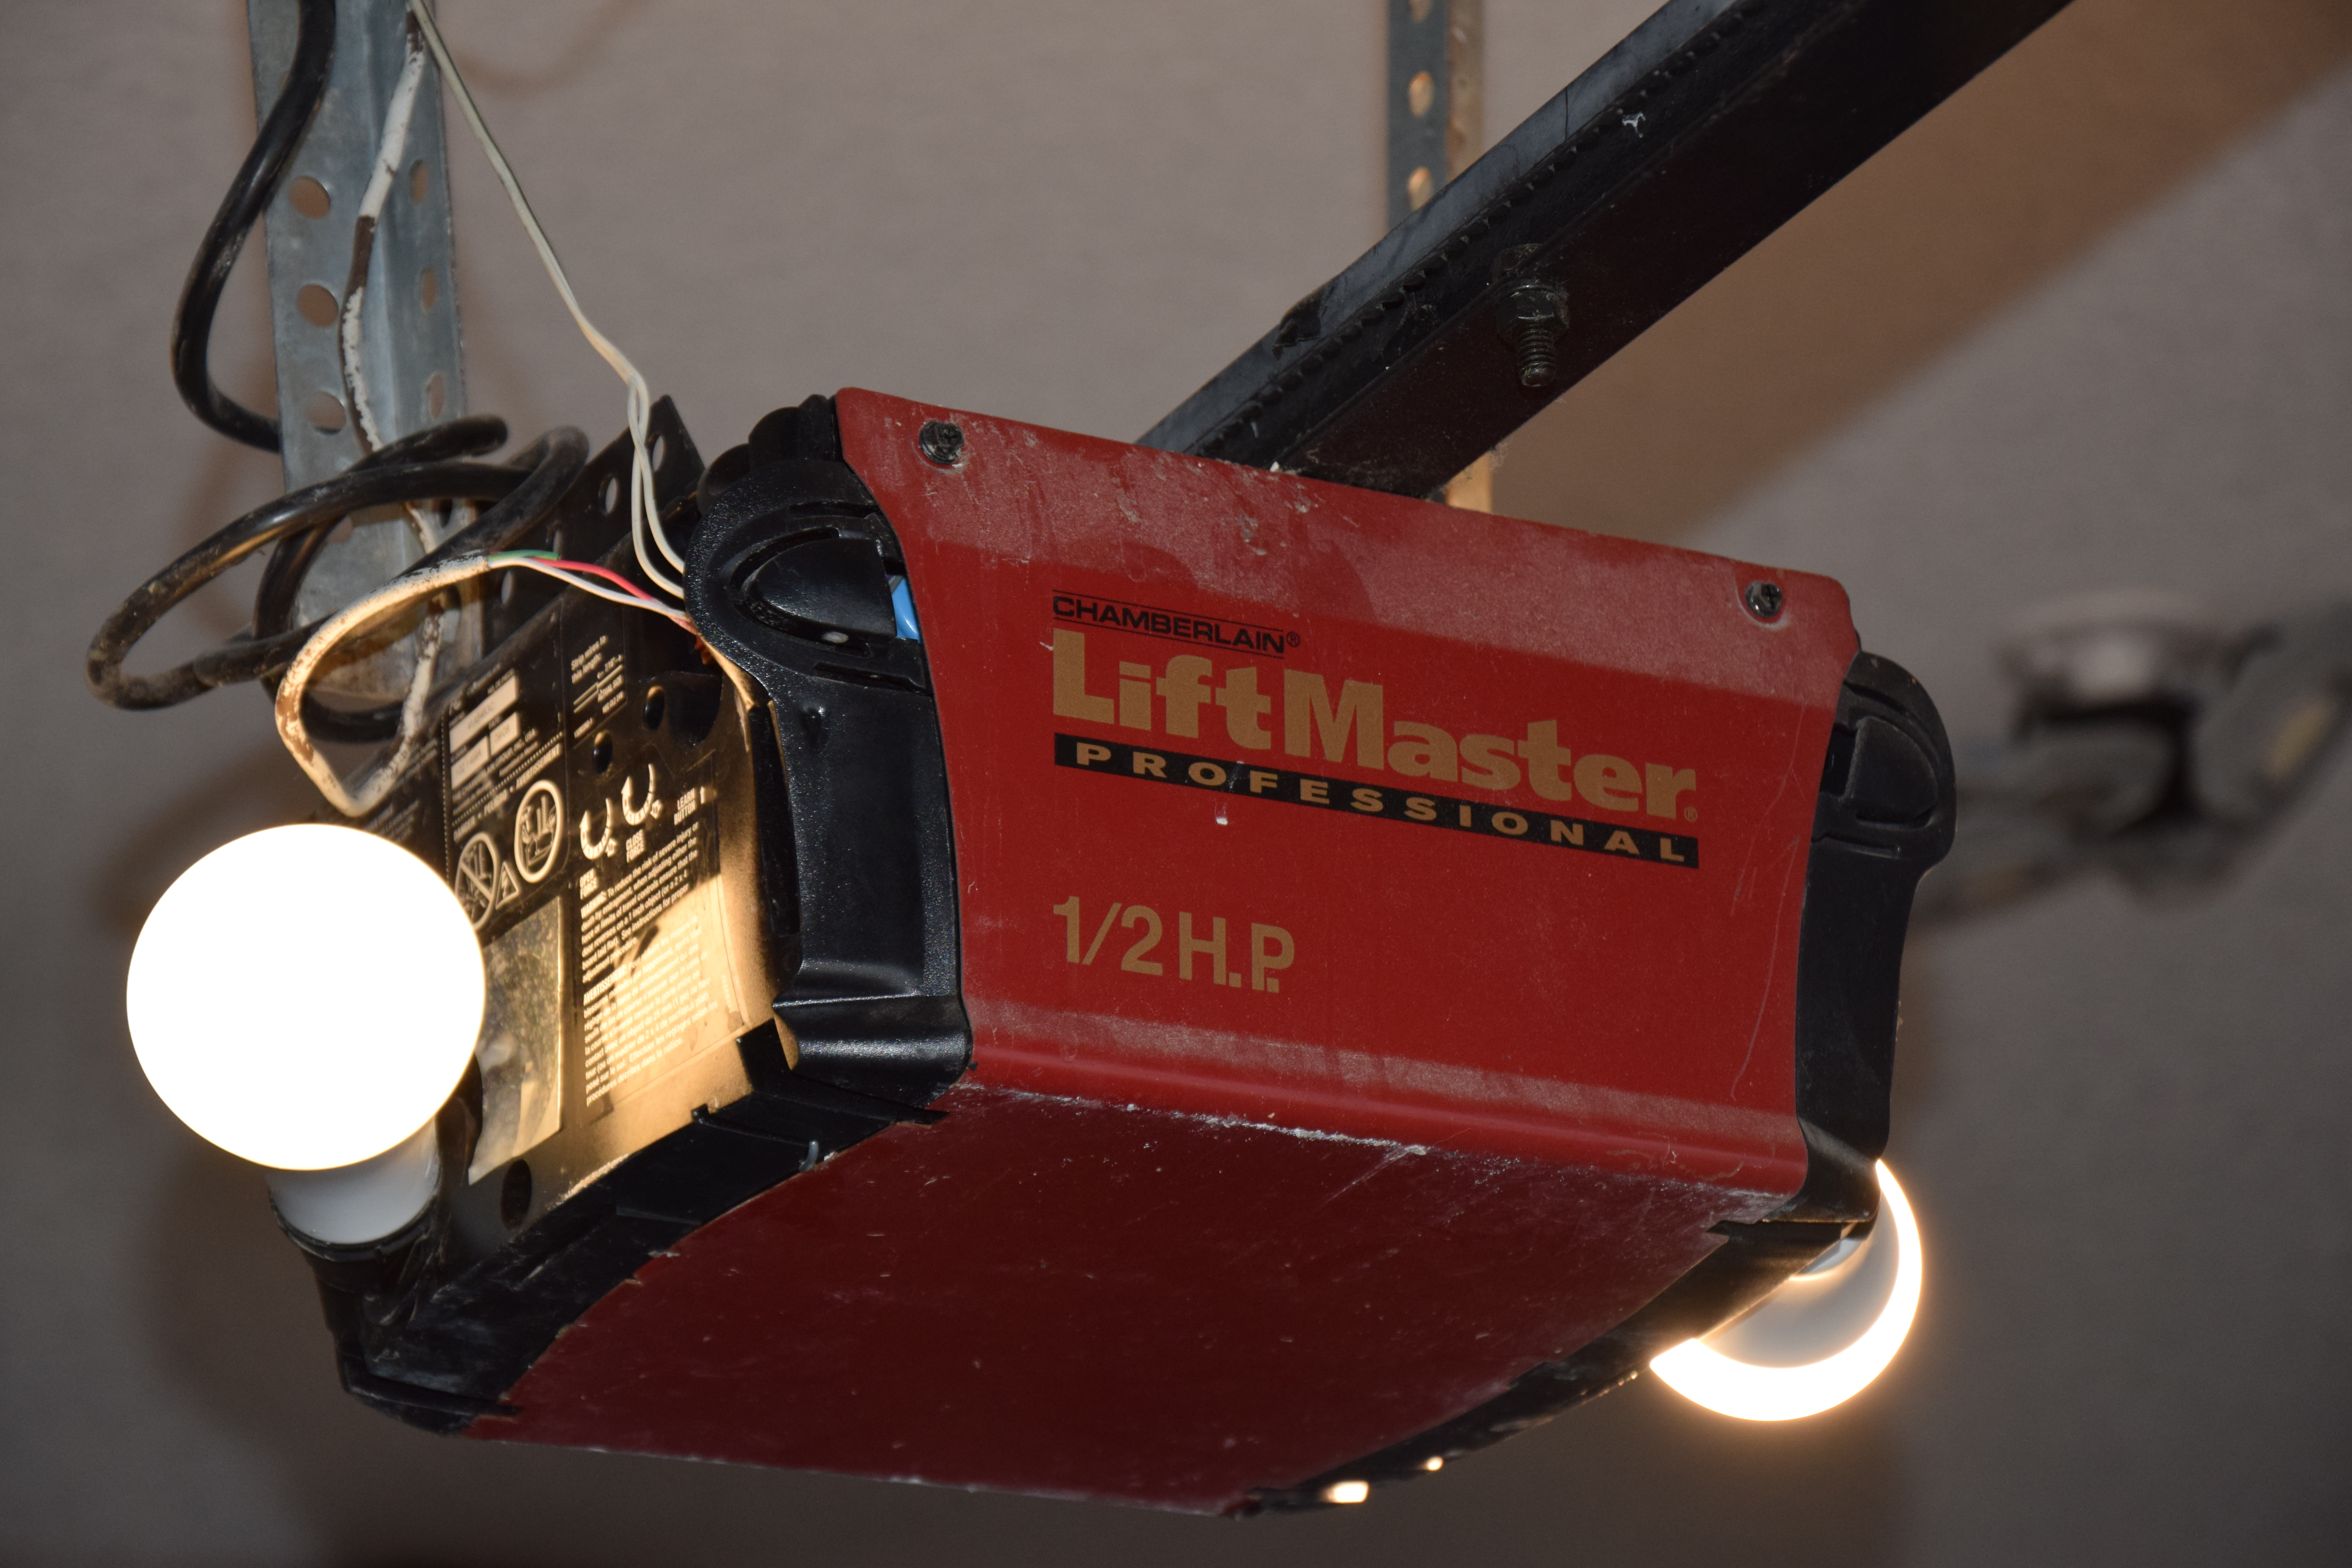
Record the existing opener's model from an accessible label or your paperwork. Photograph the overall system from the floor, including the rail, the door connection and any nearby obstructions. Do not climb to uncover a label. List wall controls, remotes, exterior keypads, vehicle controls, app access and backup batteries that people currently depend on.
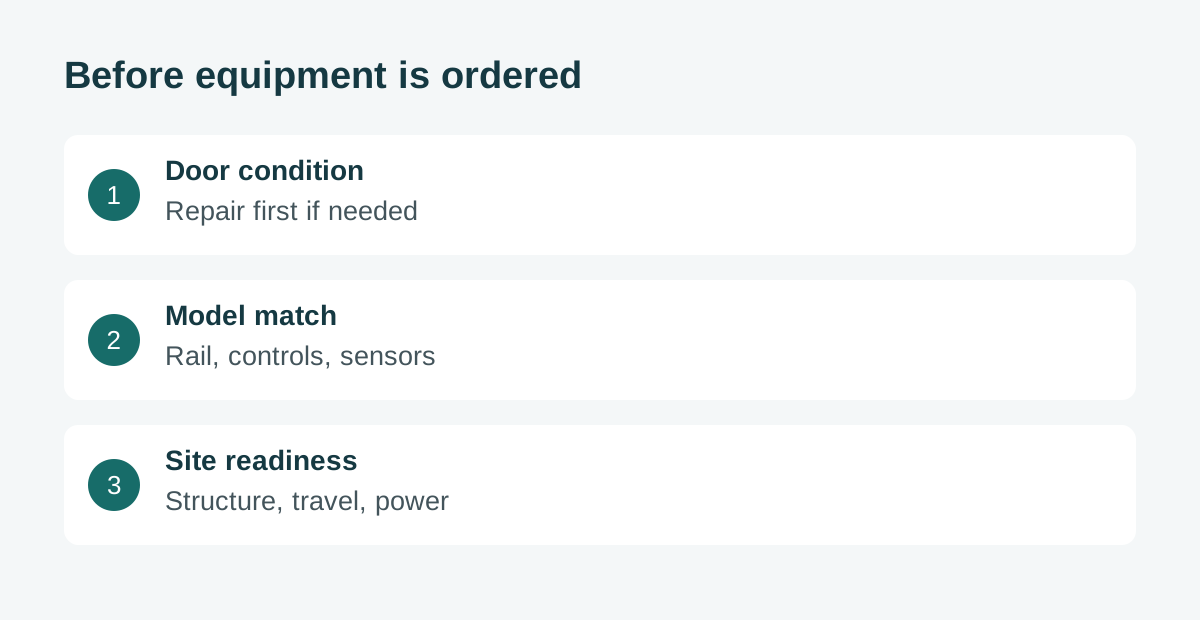
The inventory is a compatibility checklist, not a promise to reuse everything. Ask the installer to specify the new powerhead, rail or extension kit, door attachment provisions, safety sensors and controls as one documented package. A similar-looking connector, rail or remote does not establish compatibility. Any proposed retained part needs support in the applicable manufacturer's documentation, not merely “it fitted the old one.”
Confirm the exact model and manual revision before the appointment. Manuals can differ even within a product family. Put special dependencies in writing: for example, which vehicle control must continue working, whether an adapter is required, and who will supply it. Separate essentials from conveniences so one missing accessory does not obscure a more important mechanical issue.
3. Have the site surveyed as a complete travel path
Give the installer the door type, approximate opening size and any available door identification. Final suitability requires the door's construction and operating characteristics, not a guess from its appearance. Non-sectional doors need particular model approval; do not assume an opener advertised for a sectional garage door suits every door type.
The survey should follow the space occupied by the complete moving system. Ceiling racks, lighting, beams, ducts and an existing opener's location can affect the arrangement. Describe storage you intend to keep, not only what happens to be present on inspection day. A replacement rail may have different dimensions, and an unchanged motor location is not guaranteed.
Ask who verifies the structural mounting locations and the door manufacturer's reinforcement requirements. Attaching the operator to a lightweight door can require provisions that are not apparent from a front view. This is a professional compatibility decision, not a homeowner fastener selection exercise. Identify electrical readiness separately, including who resolves any missing suitable supply. Do not treat an extension cord as an installation plan.
 Open full diagram
4. Agree the scope of replacement and retained equipment
Turn the survey into a short written scope. It should distinguish the opener system from the door itself, name the supplied equipment and identify every item intended to remain. Garage-door tracks and an opener rail are different components; a statement that “the tracks stay” does not answer whether the operator's rail is being replaced.
Include removal of the old operator, redundant controls and any agreed disposal. Ask how unused components will be dealt with so the owner is not left with ambiguous buttons or disconnected accessories. If existing low-voltage wiring is proposed for reuse, its suitability belongs in the installer's assessment under the new equipment's instructions. This guide does not approve wiring reuse from a photograph.
Record responsibility for door repairs, reinforcement, electrical work and any building-related changes that the survey identifies. These may involve different trades or visits. Confirm what must be completed before the opener appointment and how a newly discovered condition will be reported. A clear boundary prevents an apparently small replacement from ending with an incomplete, unusable system.
5. Plan access, downtime and everyday operation
Arrange vehicle parking outside the work zone before the appointment and clear the agreed floor area. Keep children and pets away during work and testing. Tell the installer about access restrictions, low overhead storage and items that cannot be moved. Do not remove structural brackets or loosen door hardware to “get ready.”
Discuss how the household will enter if the opener cannot operate. A garage with no alternative pedestrian entrance needs a deliberate access discussion before equipment is selected. Battery backup and an emergency release solve different problems; neither should be assumed from a product photograph. Ask for the model-specific options and a safe explanation of their limits.
For connected features, distinguish ordinary local controls from phone access, internet availability and account ownership. Check the required network arrangements without giving an installer your account password. Decide who will set up the owner's account and how access will be handed over. Remote or timer-based closing also needs explicit model and door-type suitability, not just an available app button.
6. Put commissioning ahead of feature setup
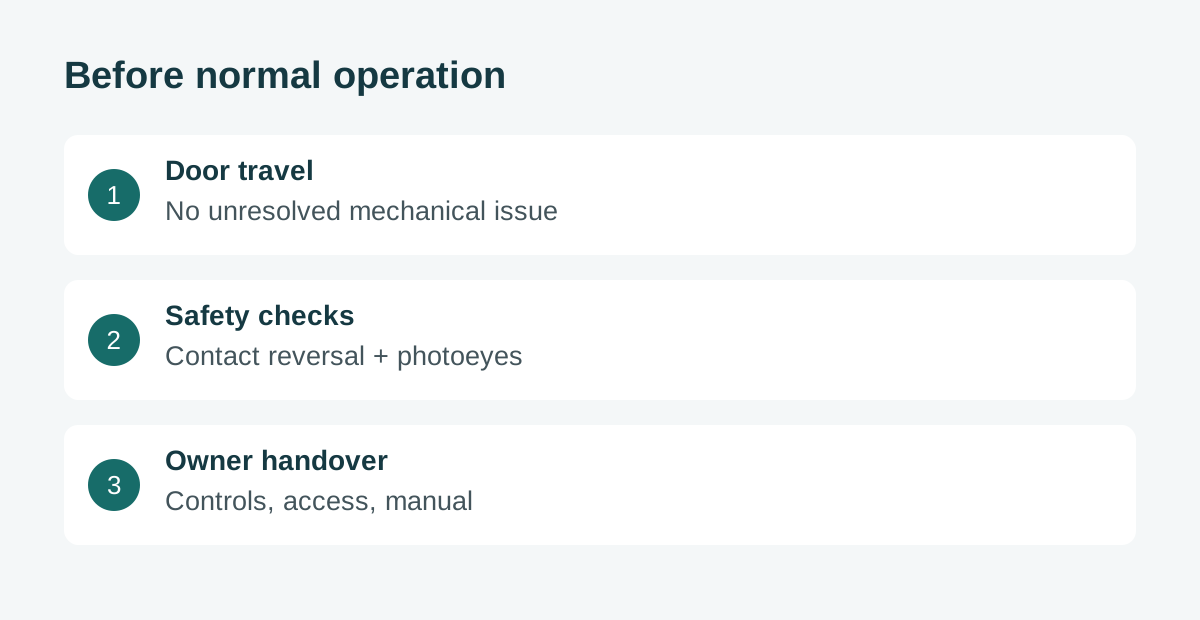
Reserve time for a handover while the installer is still present. The door should complete its intended travel without an unresolved mechanical problem. Ask the professional to demonstrate the manufacturer's contact-reversal test and photoelectric obstruction test as separate checks. Seeing the door move once, or seeing a sensor light, does not establish that both protections work.
Keep people and pets away from the moving door. Never volunteer a hand, foot or person as a test obstruction. If a required test fails, the system needs correction before normal use; do not accept defeated sensors or increased force as a substitute for resolving a mechanical issue. Follow the model's instructions for later checks and obtain professional help when results are unsatisfactory.
After the safety checks, verify the controls actually included in your agreement. Have each regular user receive a simple explanation of normal operation, lock features where fitted and what to do if the opener stops responding. Ask for an appropriate emergency-release demonstration under the manufacturer's safe conditions, rather than experimenting during an outage with an unfamiliar door.
 Open full diagram
7. Leave with an owner-ready record
Keep the model and serial details, applicable manual, service contact, warranty information and a record of the completed work together. Note which old components remained and why. Record unresolved cosmetic or accessory items separately from anything affecting safe operation; the latter is not a casual follow-up item.

Confirm that remotes, keypads and connected access belong to the intended users. Ask how obsolete access is removed and how you can manage permissions later. For a connected opener, the homeowner should retain control of the account rather than relying on an installer's login.
Finally, ask which maintenance and safety checks the manufacturer expects, how often they are required and when professional service is appropriate. Save the instructions where another household member can find them. The end of the job is a usable, understood system with its limitations explained, not merely a powered motor attached to the ceiling.
Frequently asked questions
Can I keep the old opener rail?
Only when the manufacturer explicitly permits that combination and the installer confirms its condition and suitability. Similar length or appearance is not enough. Have the retained rail identified in the written scope.
Will a new opener fix a heavy or sticking door?
No. The door must be assessed and any required mechanical correction addressed. Do not use additional opener force to compensate for a door problem or attempt spring adjustments yourself.
Do all existing remotes and wall buttons carry over?
No. Compatibility depends on the new model and control system. Inventory what matters, then get a specific answer for each accessory, including vehicle integration and any required adapter.
What if commissioning is not complete when the installer leaves?
Ask for a clear status and safe interim arrangement. Do not treat an untested or failed-safety system as ready for normal operation. Arrange completion and keep the outstanding work documented.
Related Posts
 Practical Guide
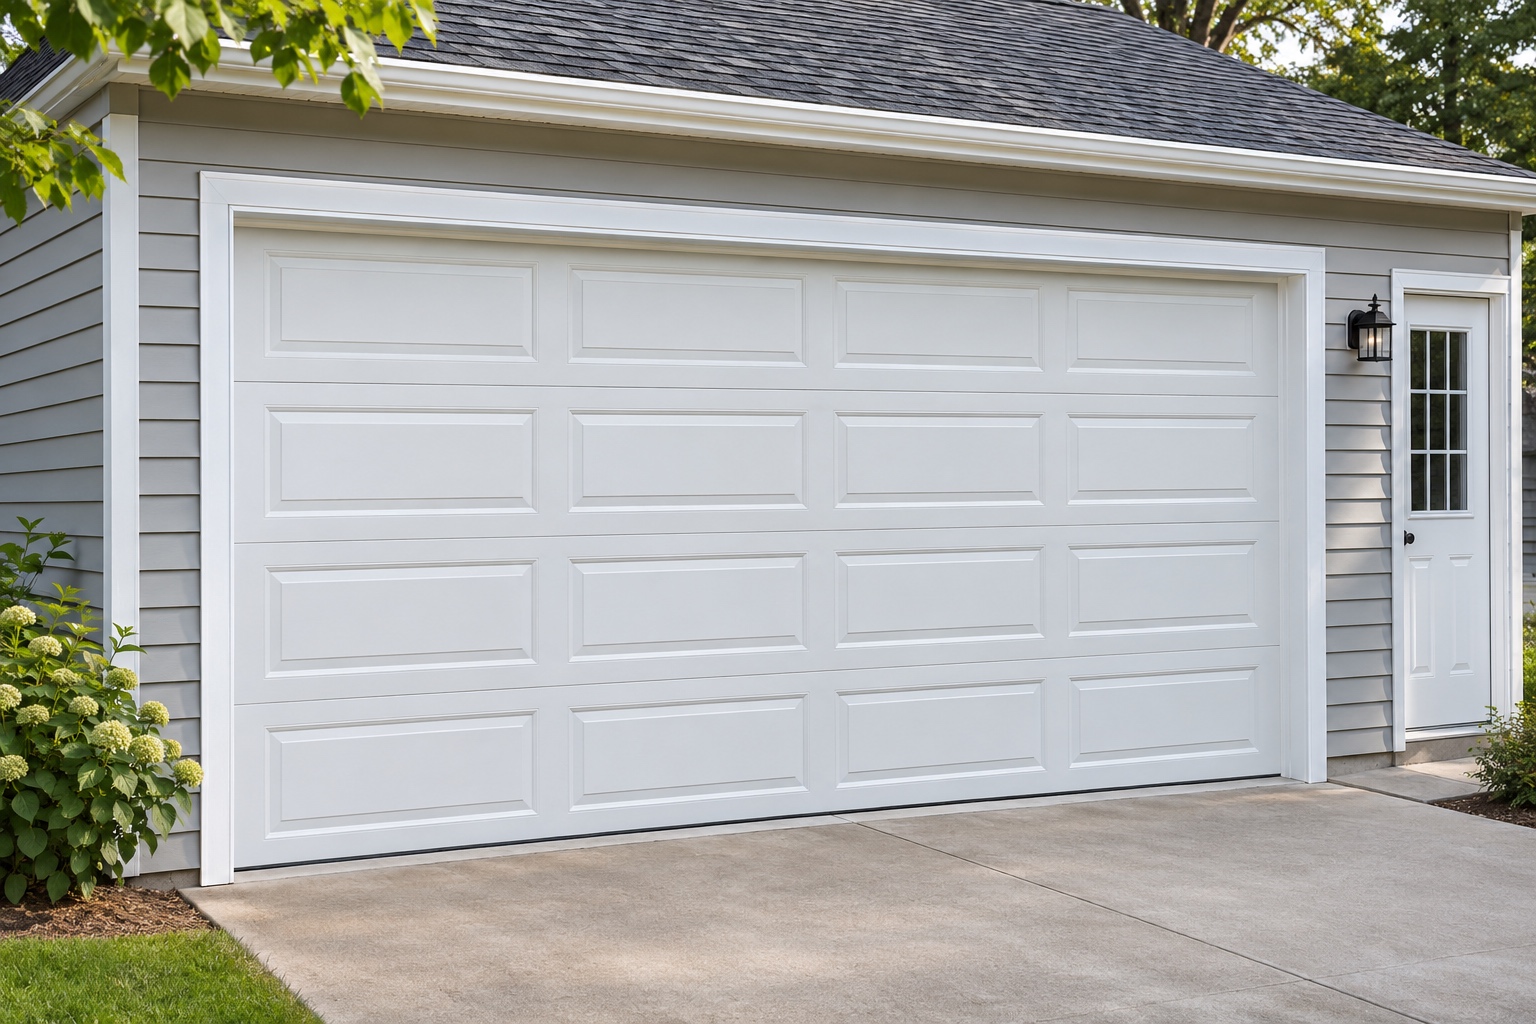
Plan a Garage Door Installation or Replacement
Organize a garage door replacement from site assessment and order confirmation to access, removal, testing and a useful owner handover.
 Planning Guide
Garage Door Opener Installation Cost: Compare Complete Quotes
Build a complete opener installation quote covering compatibility, rail, mounting, electrical readiness, accessories, and safety testing.
Sources
Manufacturer instructions and references for this guide. Match the document to your exact product.
- DASMAwww.dasma.com
- GENIEwww.geniecompany.com
- CHAMBERLAINsupport.chamberlaingroup.com
Photo credits
- Ceiling-mounted chain-drive opener and its mounting hardware. The required supports, clearances and door connection depend on the model and site. Tony Webster · Wikimedia Commons · CC BY 4.0 Wikimedia Commons CC BY 4.0
- Record the existing equipment before deciding which components and controls can remain. Appearance alone does not establish compatibility. sheffieldb · Wikimedia Commons · CC BY 2.0 Wikimedia Commons CC BY 2.0
- A handheld remote is one of the controls to identify at handover. The remote shown is not a compatibility recommendation for another opener. SOMMER Antriebs- und Funktechnik GmbH · Wikimedia Commons · CC BY-SA 3.0 · Original image, unchanged. Wikimedia Commons CC BY-SA 3.0


